Happy Wednesday everyone! I just got a sewing machine recently and totally excited to learn how to use it and apply sewing into what I do. On my first attempt, I tried to sew paper! It certainly got a bit tricky and you have to test how many papers you really can go through – safely! My first attempts to sew the binding of a journal resulted in a really ugly looking result.
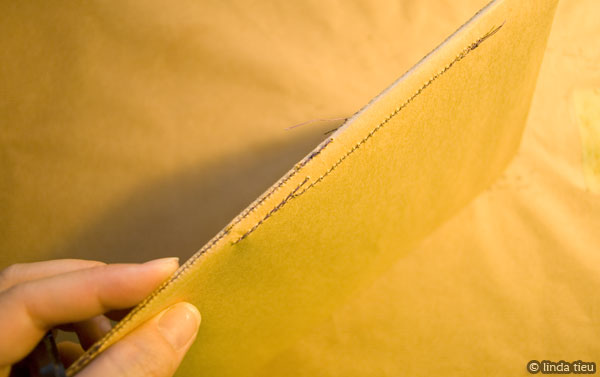
Although I’m not totally against being free and messy, I know that the paper was just too thick. I decided to make a smaller journal with less pages and thinner paper. So let’s go through this little tutorial of creating a journal using a sewing machine to bind your pages. I apologize in advance for the wonky photo coloring – I didn’t have proper lighting! So first thing I did was test my sewing machine to find out how many papers I could comfortably sew. I cut my papers to size and simply sewed the folded papers into the center of the liner paper, just a bit larger in size. This is probably the easiest binding one can ever do! I did remember to sew in reverse on the top and bottom to make sure the thread doesn’t unravel. I also purposely left long endings so I could glue them into the lining. When sewing paper, you just have to do a lot of tests and get your stitch length longer, so you don’t just end up cutting your paper.
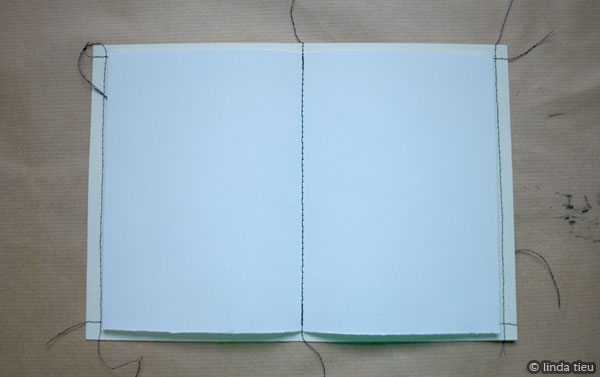
To add a bit of design, I decided to sew along all four corners of my liner paper as well. Of course, you have to do this before you sew your signature of paper in. Pretty simple, straight sewing that I can sort of do. Even though it’s a bit wobbly-lined, I’m okay with it .
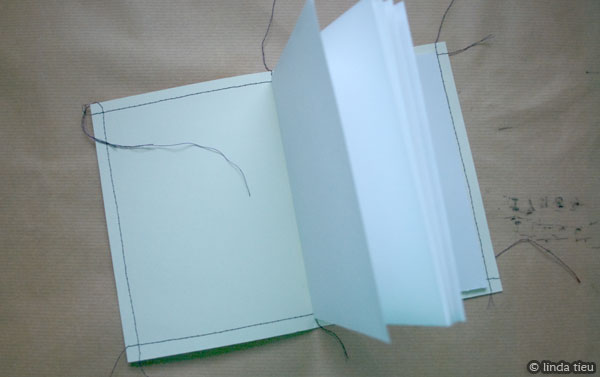
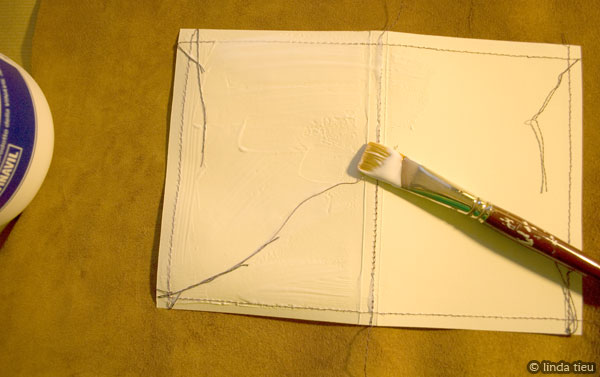
Next step is to glue the piece to your cover material. I am using leather here, just gluing the ends of the sewing and the whole liner paper with PVA glue.
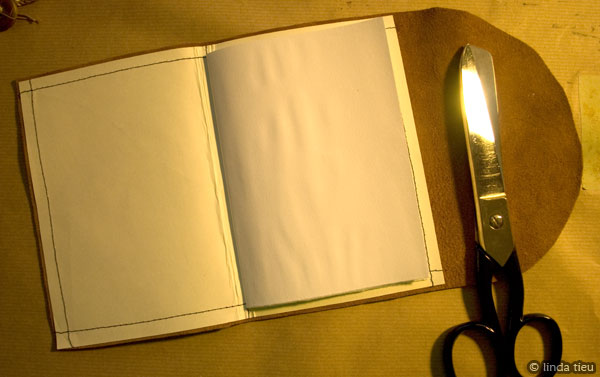
After it dries, I just cut it out by hand, leaving a flap on the right to wrap around for closure.
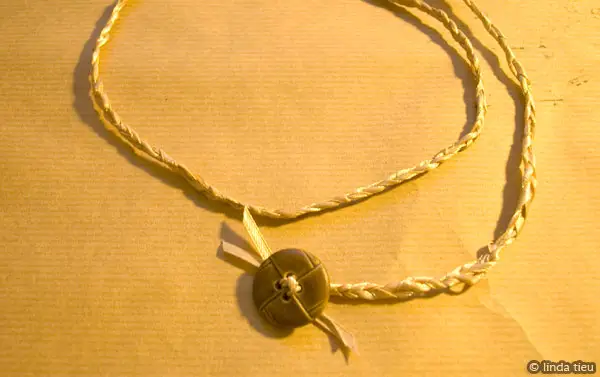
For my wraparound closure, I braided some ribbon and twine together, attaching a big button to the end. I really love the ribbons mixed with other string, giving a really rustic look.
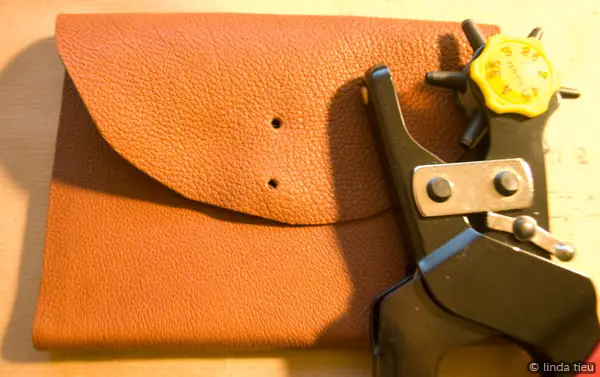
I punched two holes into the flap and pulled my braided closure into it.
One side is knotted twice to keep it secure, then wrapping around twice, the button helps to hold it closed securely. Pretty nifty!
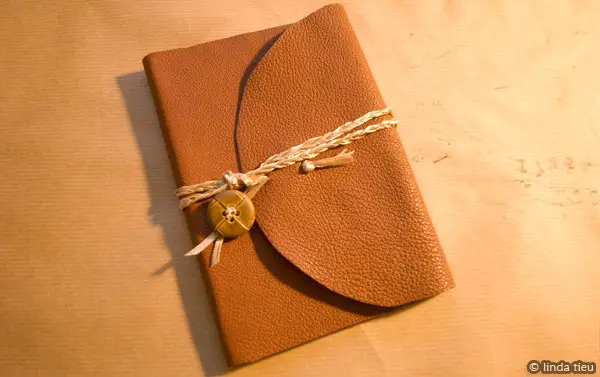
There you have it, another little journal for you thoughts, doodles and life experiences. How cool is that?!

