The other day I was playing around with paper circles and making flower embellishments for bookmaking and scrapbooking. I kept playing with the paper circles, experimenting with different sizes, patterns and arrangements…until wahlah! There amongst my scraps of paper appeared a beautiful, cute little angel! I think it’s the coolest thing…although I’m sure somewhere this has probably been done. However, I’m still in awe of how simple and easy it can be to create cute little decorations.
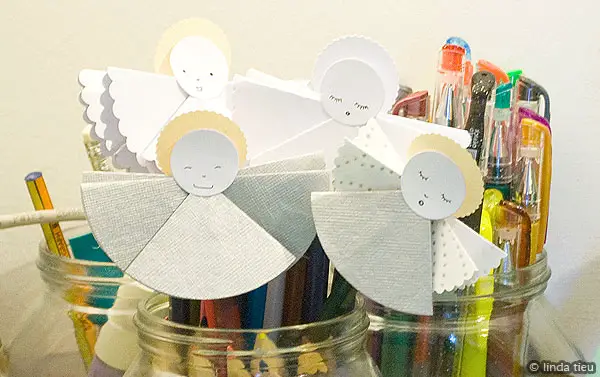
You can see from my prototypes that by varying the size, paper patterns and arrangement I can end up with a sort of ghost angel or super cute holiday angel… the possibilities are endless! So here’s how you create these cuties. Cut out a bunch of paper circles – although I image you could probably do this with fabric as well! I used my die cutting machine to cut lots of circles, but you could use a paper punch or even freehand it, because I’m sure the variation will end up looking shabby chic cool.
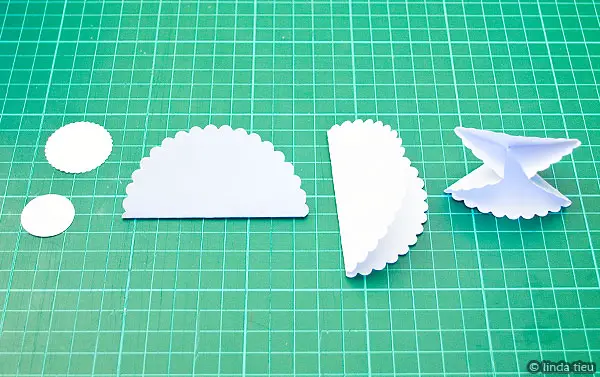
You will need 3 circles to create the body and wings of your angel, plus a smaller one for the halo and another even smaller one for the face. Of course, as you vary the sizing your angel will develop his/her own personality and unique features 🙂 To create the body you simple fold the circles in half and then open up and fold half the other way.
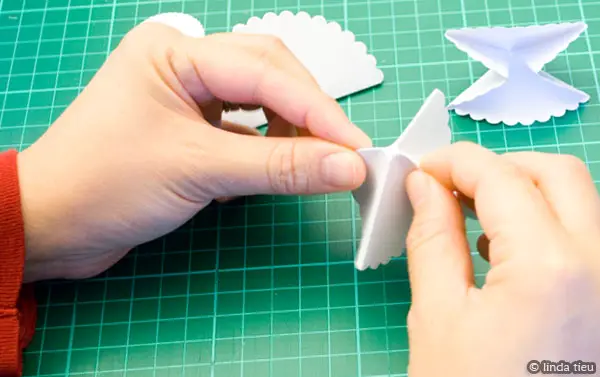
I suppose it’s a common origami move, but with the two folds, you take your circle and sort of squish it with your fingers to create the quarter-circle triangle shape.
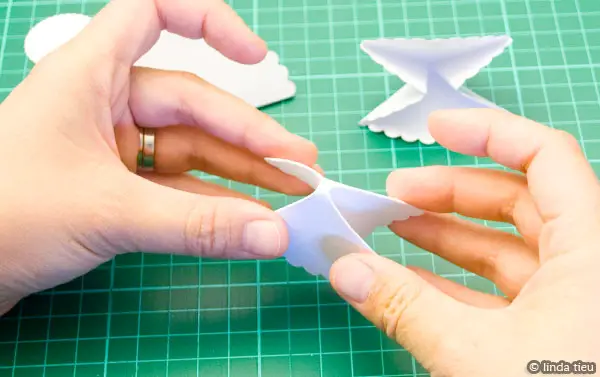
If you have trouble doing the squishy move, you can fold your circle a few more times to create those extra fold lines…but you’ll end up with the fold in the center of your quarter-circle triangle shape, which you might not like. I think a little practicing with a few circles will do the trick.
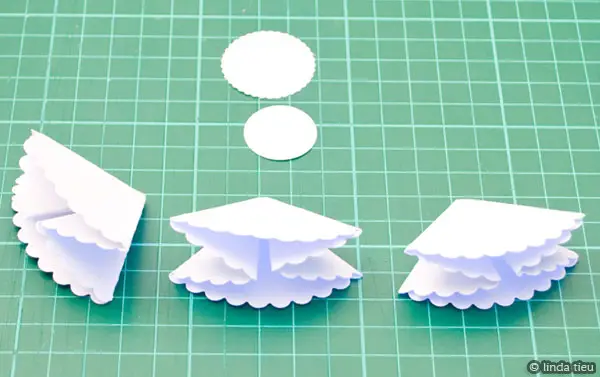
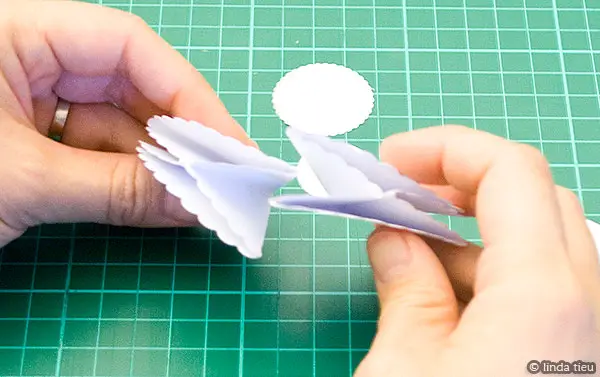
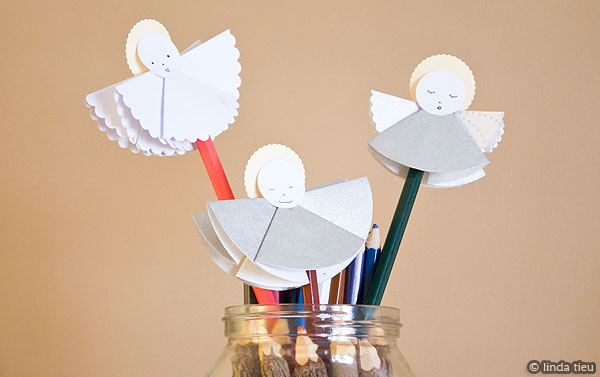
After folding all 3 of my circles, you simple glue them together to form the body and wings of your angel. I keep the center piece as the body and resting on top…then glue in the wings on the two sides sort of interlocking with the body piece…probably easier to just look at the photo to understand.
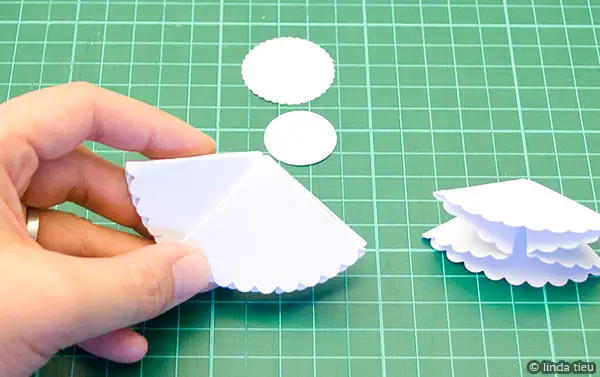
Then you just add the halo circle on the back and the face on the front…you can draw different expressions – singing, sleepy, smiley…
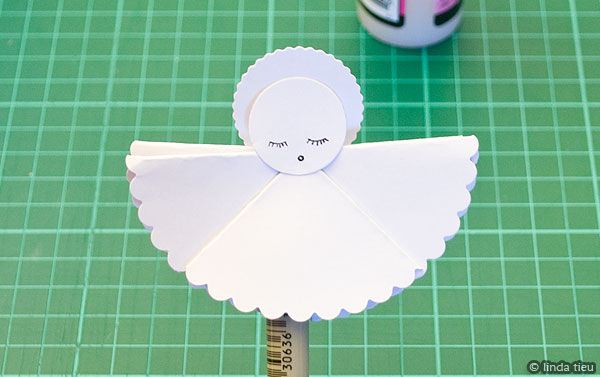
I played around and created a few of them as you can see and the one with smaller circles for the wings only creates a more proportional angel. You see that by experimenting a big, you can create really unique and pretty angels for your holiday decorations.
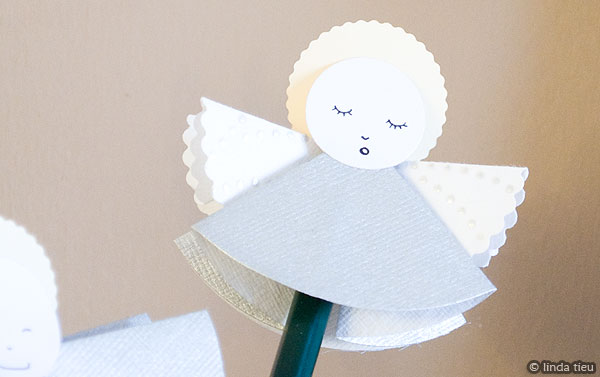
I like to put them on my pens and pencils, just hanging around! However, they would make lovely Christmas decorations, a beautiful garland or maybe even on the front of a handmade card or book/journal cover. Lots of ideas flying through my head!
Also, as I was experimenting I realized there are many more things you can create with just paper circles…for example, if you stacked a bunch of the folded circles together in varying size…it could look like Christmas trees…hmm… gotta go experiment some more now. Have fun and thanks for stopping by for this tutorial! Share you links and comments below!

