While surfing the web last month, I came across Umbrella Prints and their 2015 trimmings challenge. They are an Australian textile company specializing in organic printed fabrics and the patterns were so darn cute, I couldn’t resist ordering a packet of fabric trimmings.
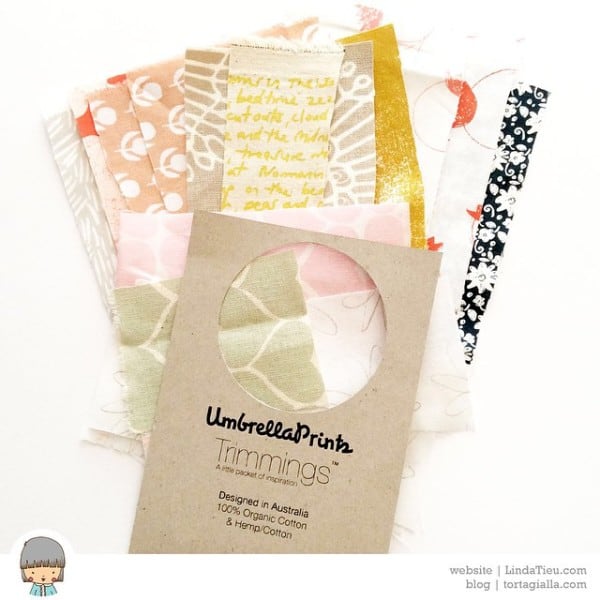
Although I’m not a quilter or sewer (I use my sewing machine for paper more than anything) I decided to give it a try anyway. There’s something about rolling up your sleeves and trying out a new crafty technique that brings excitement and creative energy!
My initial thought was to use the patterned fabric to create an illustrated scene, but I sort of wanted to sew rather than just cut and glue… so thought perhaps I could quilt pieces together randomly to use as a journal cover. It didn’t seem like that exciting of an idea however, so I thought a shape could be created by using cut paper to sort of frame over all the quilted pieces of fabric.
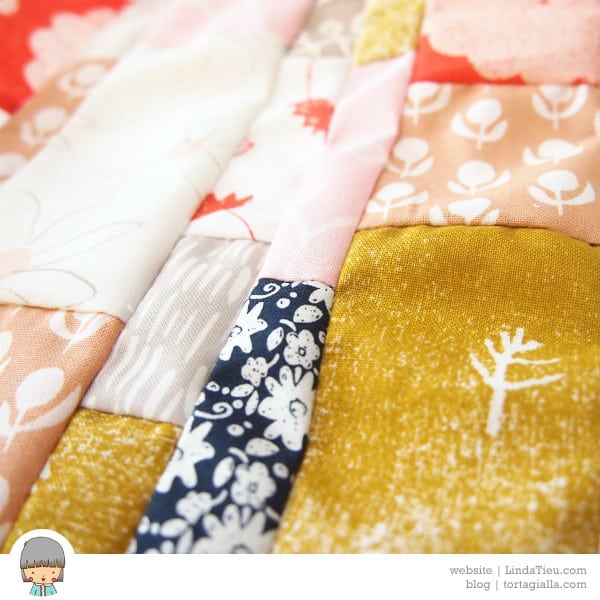
I had everything laid out on my table, but it took me a long while to actually get to sewing. I was sort of afraid to dive in, for fear of making a mistake. The days flew by and suddenly I found myself at the end of the line. Not only that, our second baby is arriving soon, so there’s no time like NOW to get going. So I dove in and just did my best. Even if it’s all a bit lumpy and imperfect, I love the mix of patterns and colors… so happy, cozy, cute and lovely.
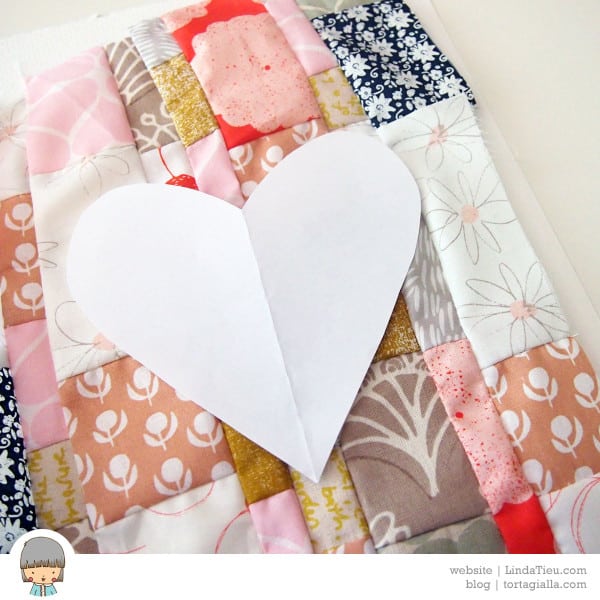
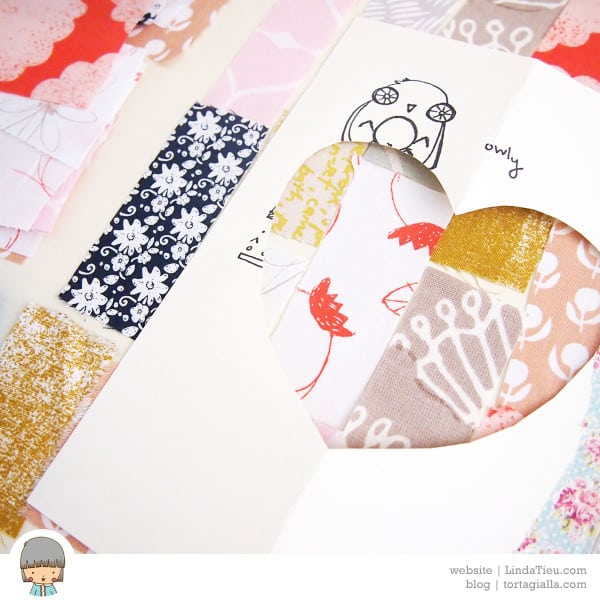
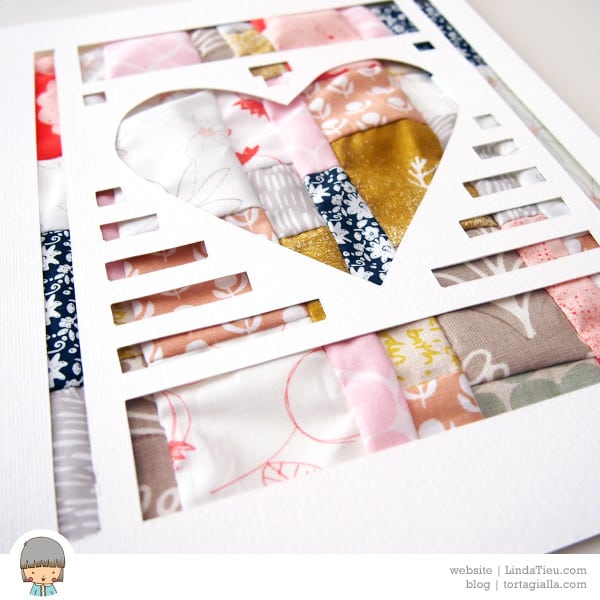
I thought the finished piece would be larger, but that’s because I didn’t really think about all the sewing seams… oops! Talk about a newbie, right? I’ve actually taken a sewing class before, but I’m just not very good at it either way! Regardless, I forged ahead and will love my sewing, imperfection and all! I decided to use a classic heart shape for the frame on top. Basically, the idea is to create a wall hanging to put on my studio wallspace. After cutting the heart shape I realized most of the fabric was not showing up and it such a shame. So I got ambitious and starting to cut more areas out of the paper.
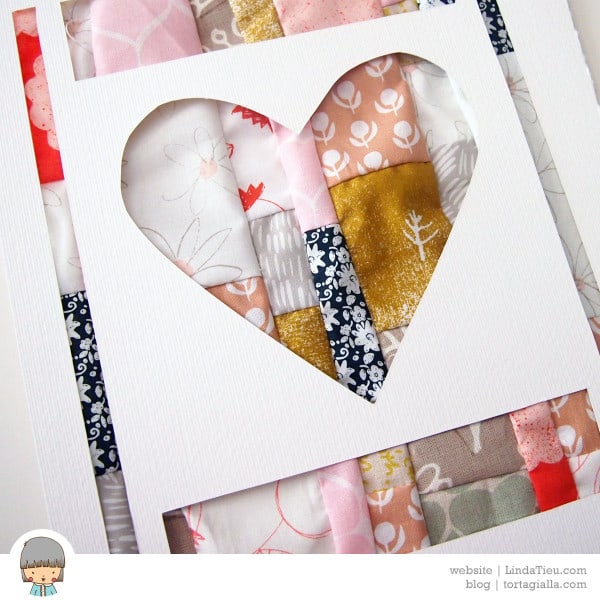
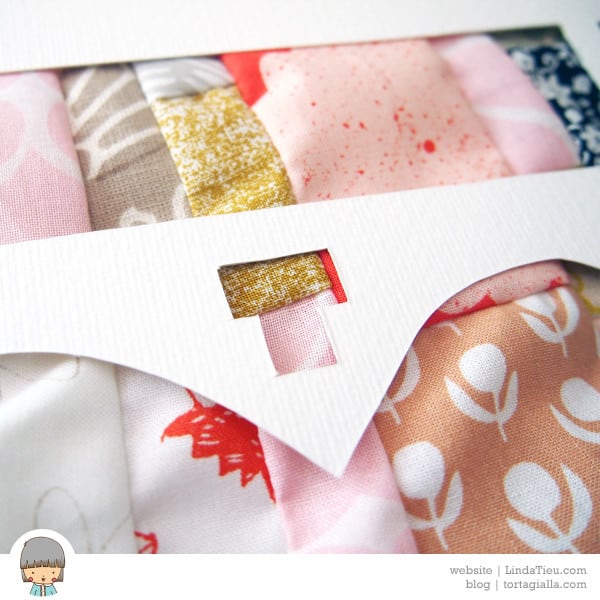
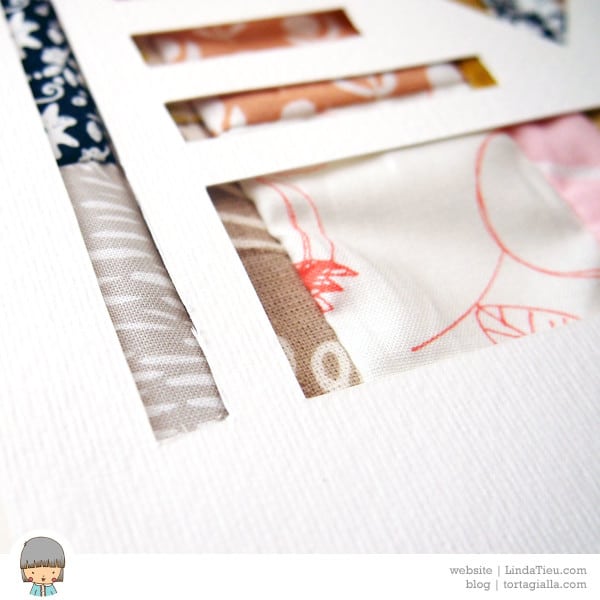
As I got into it, I just check going and kept cutting out more areas to reveal the pretty fabric pattern underneath. I got really ambitious, even though the whole time I was so worried that I would make a mistake! Props to all paper cutters out there, for sure. I was just cutting straight lines, but it was nerve wracking regardless. In fact the top and bottom bars were supposed to be multiple lines, but I was too hasty and cut through. However, I’m happy with how it turned out in the end… a very cool geometric kind of cut-out frame.
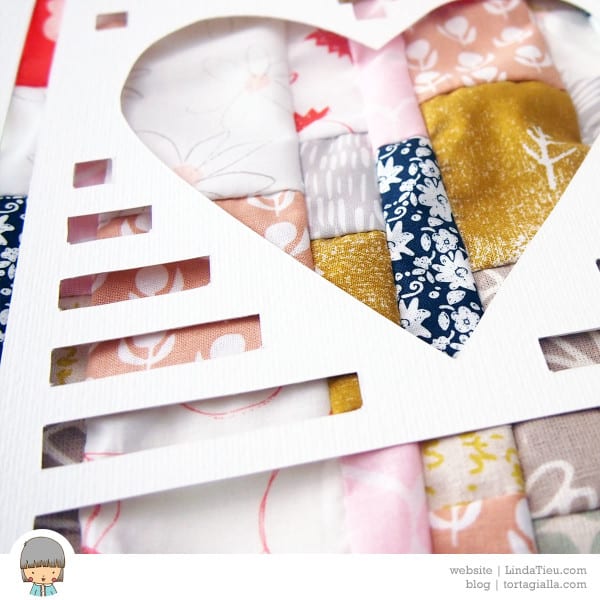
Here’s are some shots of a few details, imperfections and all. It’s not easy to cut paper precisely and I certain freehanded a lot of lines and corners.
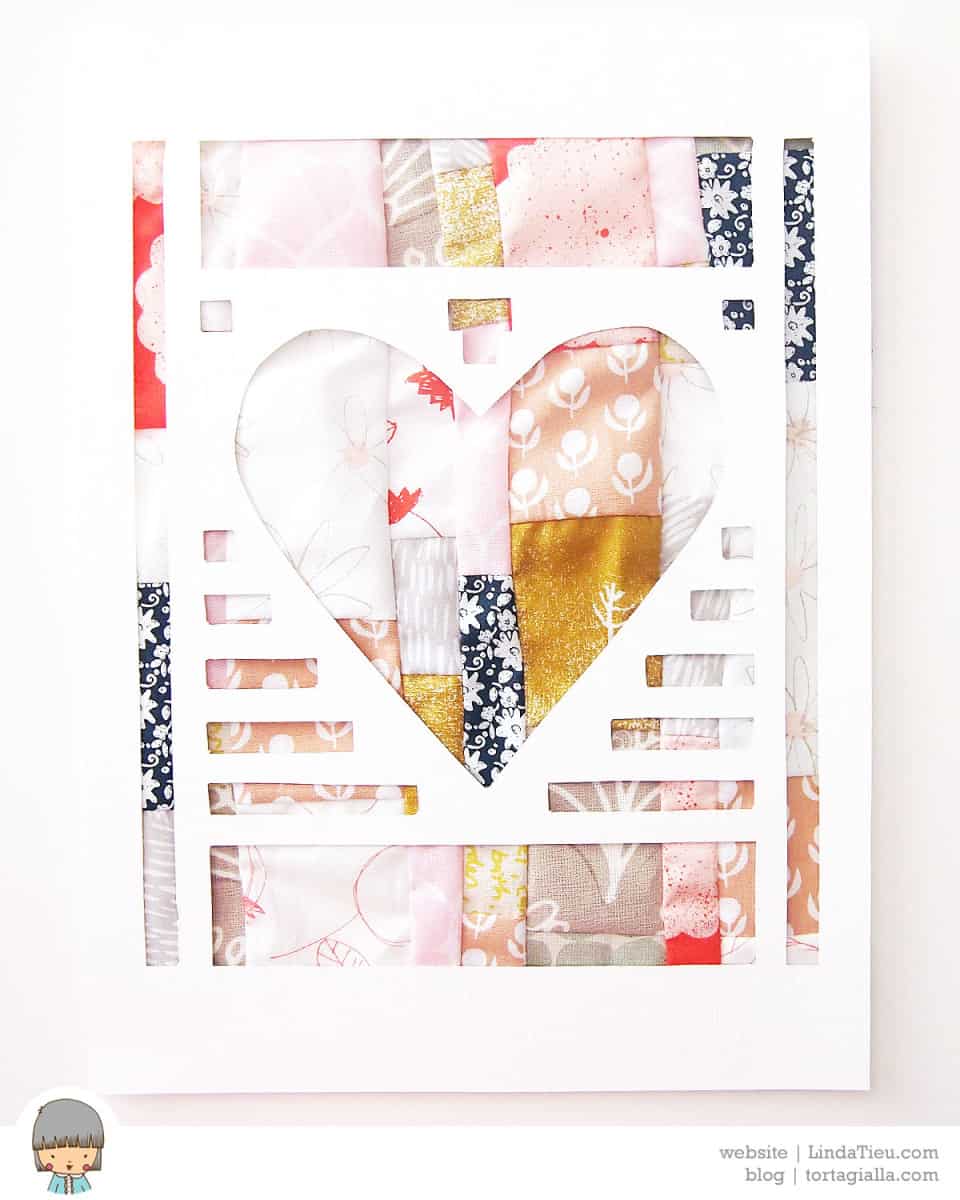
The final product is pretty cute and I love that I have another crafty project to display in my studio. This year is all about making my workspace more happy, motivating and “me.”
Now I just need to decide on how to hang it… using a traditional frame, hanging from a dowel or clip or something else? There are so many creative ways to display work on walls, I want to explore my options…
Do you have any ideas on how to hang pieces on a wall? Did you participate in the Umbrella Prints Trimmings Challenge? Either way, you can always grab some bits of fabric and just play.
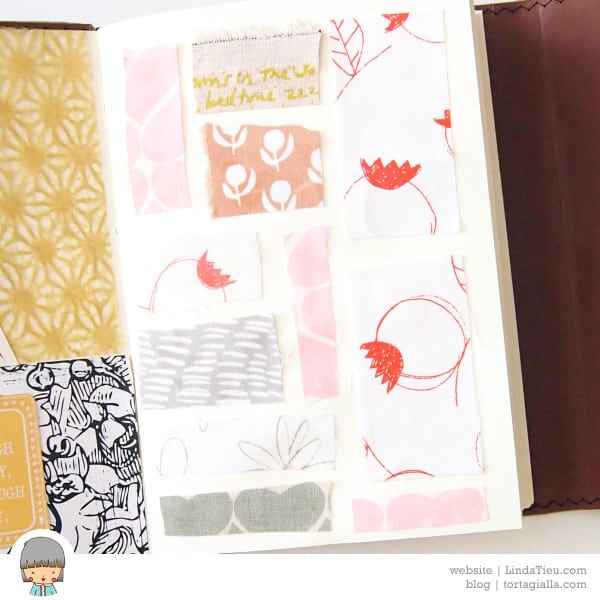
In fact, I didn’t want to throw away the tiny pieces of fabric trimmings I had left from the project, so I threw it into a page of my art journal to create a patterned background. Maximum use, no waste! Yay!
If you want to check out all the Umbrella Prints Trimmings Challenge entries, you can follow the Pinterest board here… can’t wait to see everyone’s creative work!