It’s that time of the year again, when the weather takes a cold turn and I’m happy to announce that I’m continuing my monthly guest posts on Kenarry.com!
My plan is to continue offering helpful printables to the community each and every month. I will also update this free digital art downloads ongoing post on my blog with a list of all my posts on Kenarry for your reference.
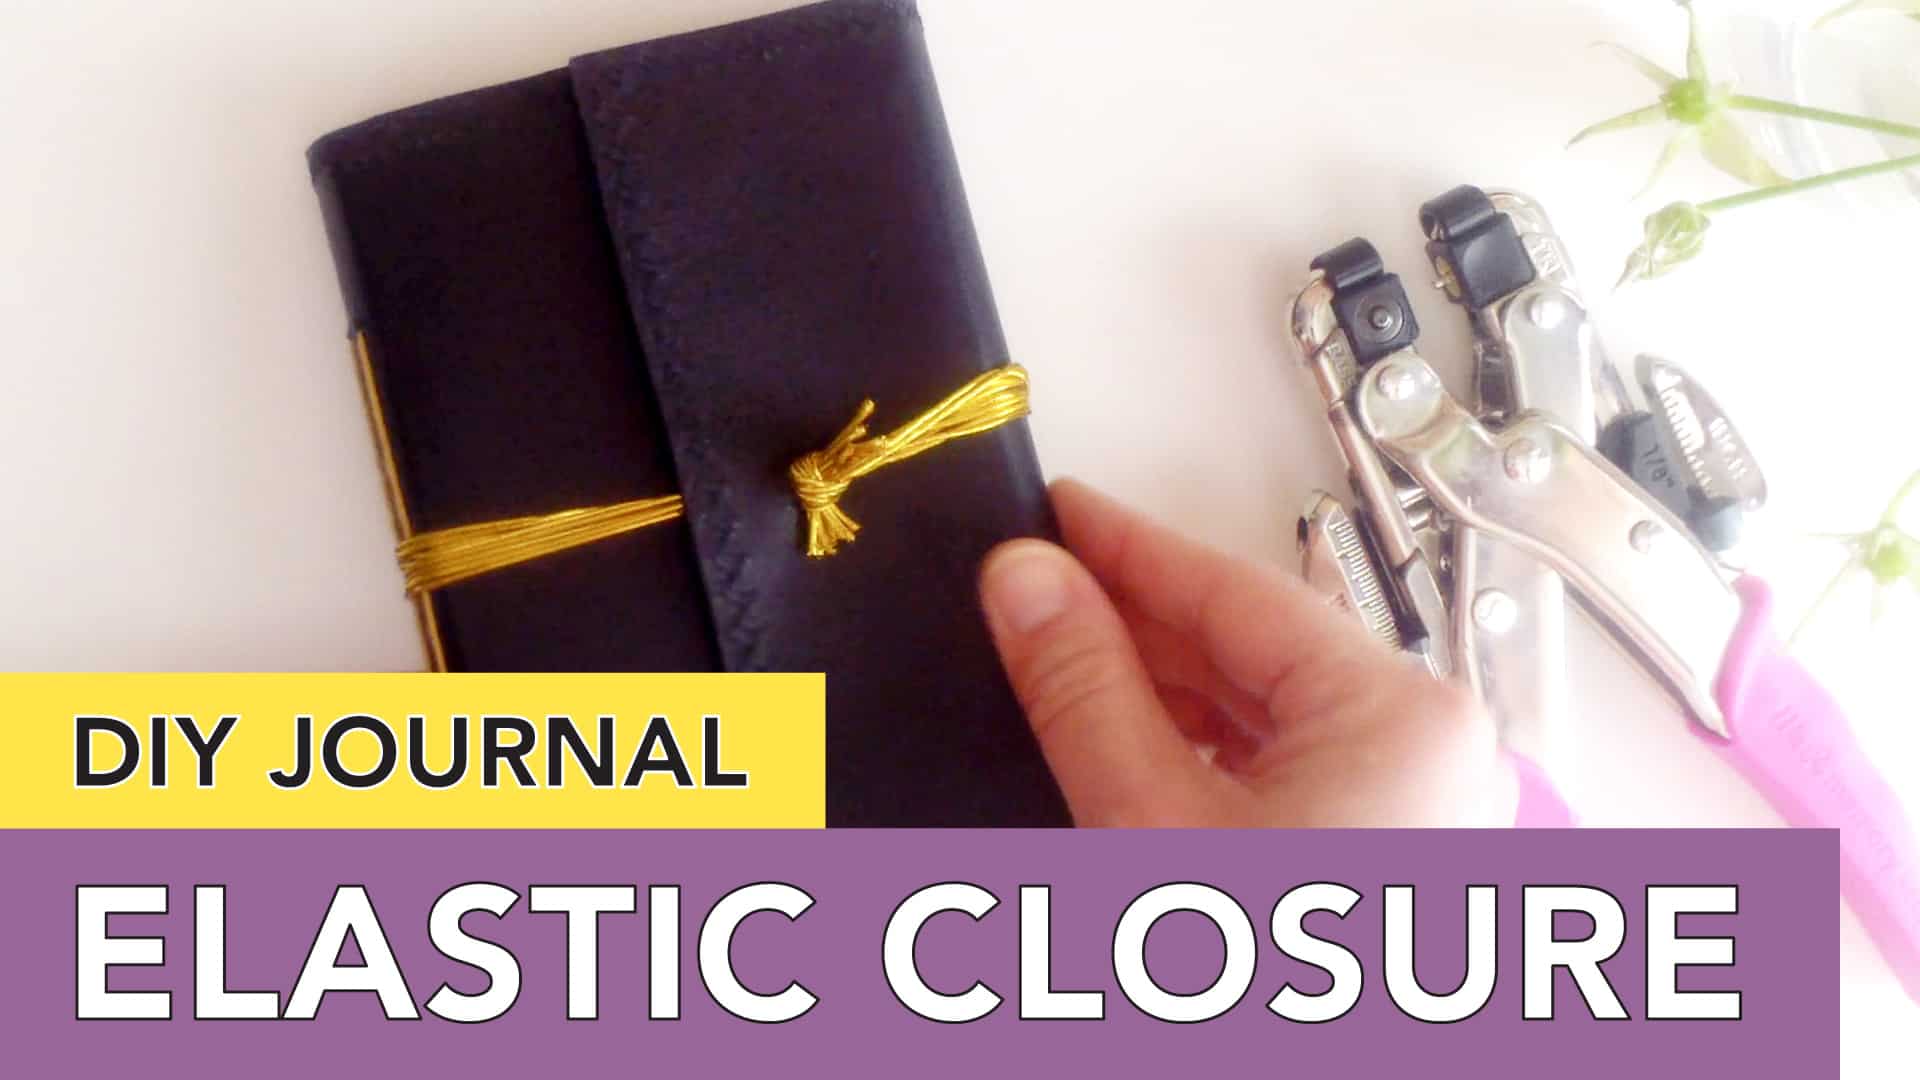
I’ve shared many DIY journal tutorials on this blog and have recently shared on youtube as well. In this video, I thought it would be nice to share the idea of a wraparound closure that you often see and how you might use an elastic closure instead of a very long string.
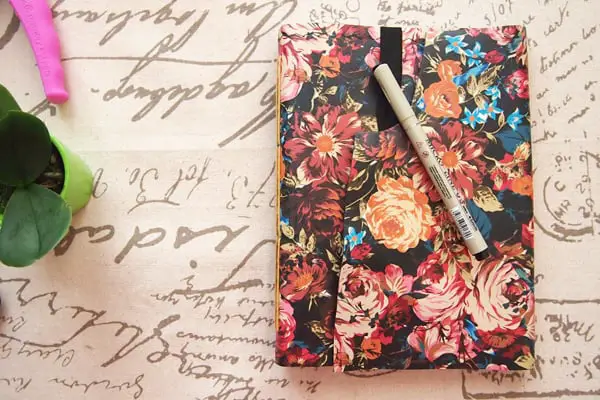
Let me share with you the process of making this little cute journal with a gold elastic wraparound closure – enjoy!
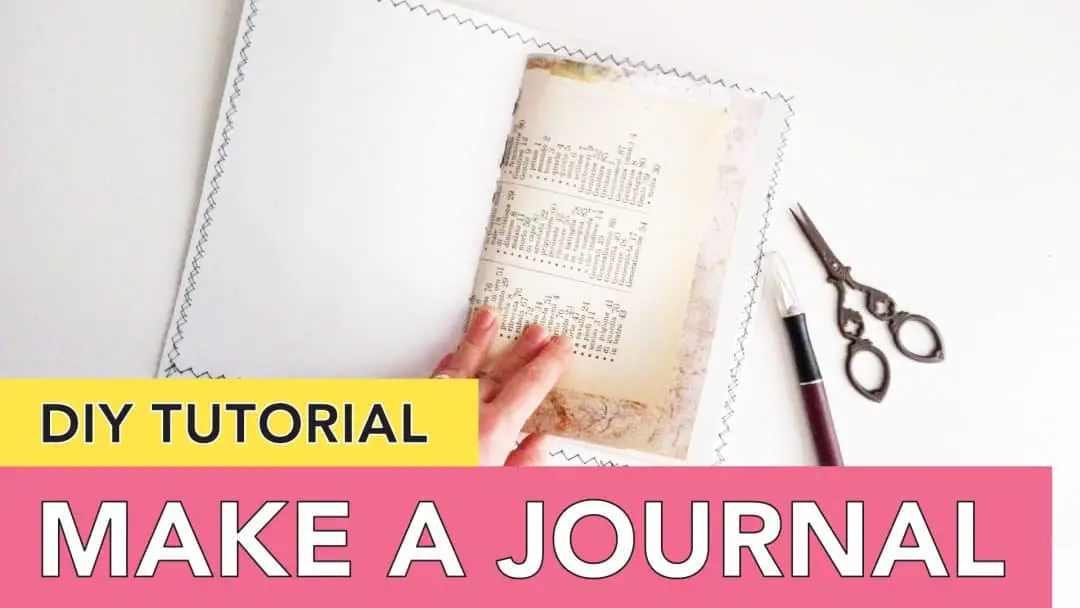
Want to know hw to make a journal all by yourself, from scratch? Journals are great for art journaling, notetaking, collage and sketchbook practice – and gifts! Once you learn, I’m sure you’ll be hooked. Let me show you how!
Over the years I have posted many times about my bookbinding experimentations and have tutorials for longstitch binding,making a journal and coptic stitch binding. I have been asked to share more and I realized it would be nice to have video tutorials as it helps to visually see what is happening, not to mention hear my explanations, instead of having to read a long paragraph.
So here is my how to make a journal video series, split up step-by-step, so that it’s easy for beginners. I hope it is informative and helps you to start to make your very own handmade journal.
I hope you enjoyed this make a journal tutorial and are well on your way to making your own journal. Please feel free to let me know if you have more questions or would like videos on a specific subject. I’m happy to share the creative fun!
If you enjoyed my videos, be sure to subscribe to my youtube channnel for more! My plan is to record my entire process each time I make a journal, so you can see the process again and the slight variations per journal.
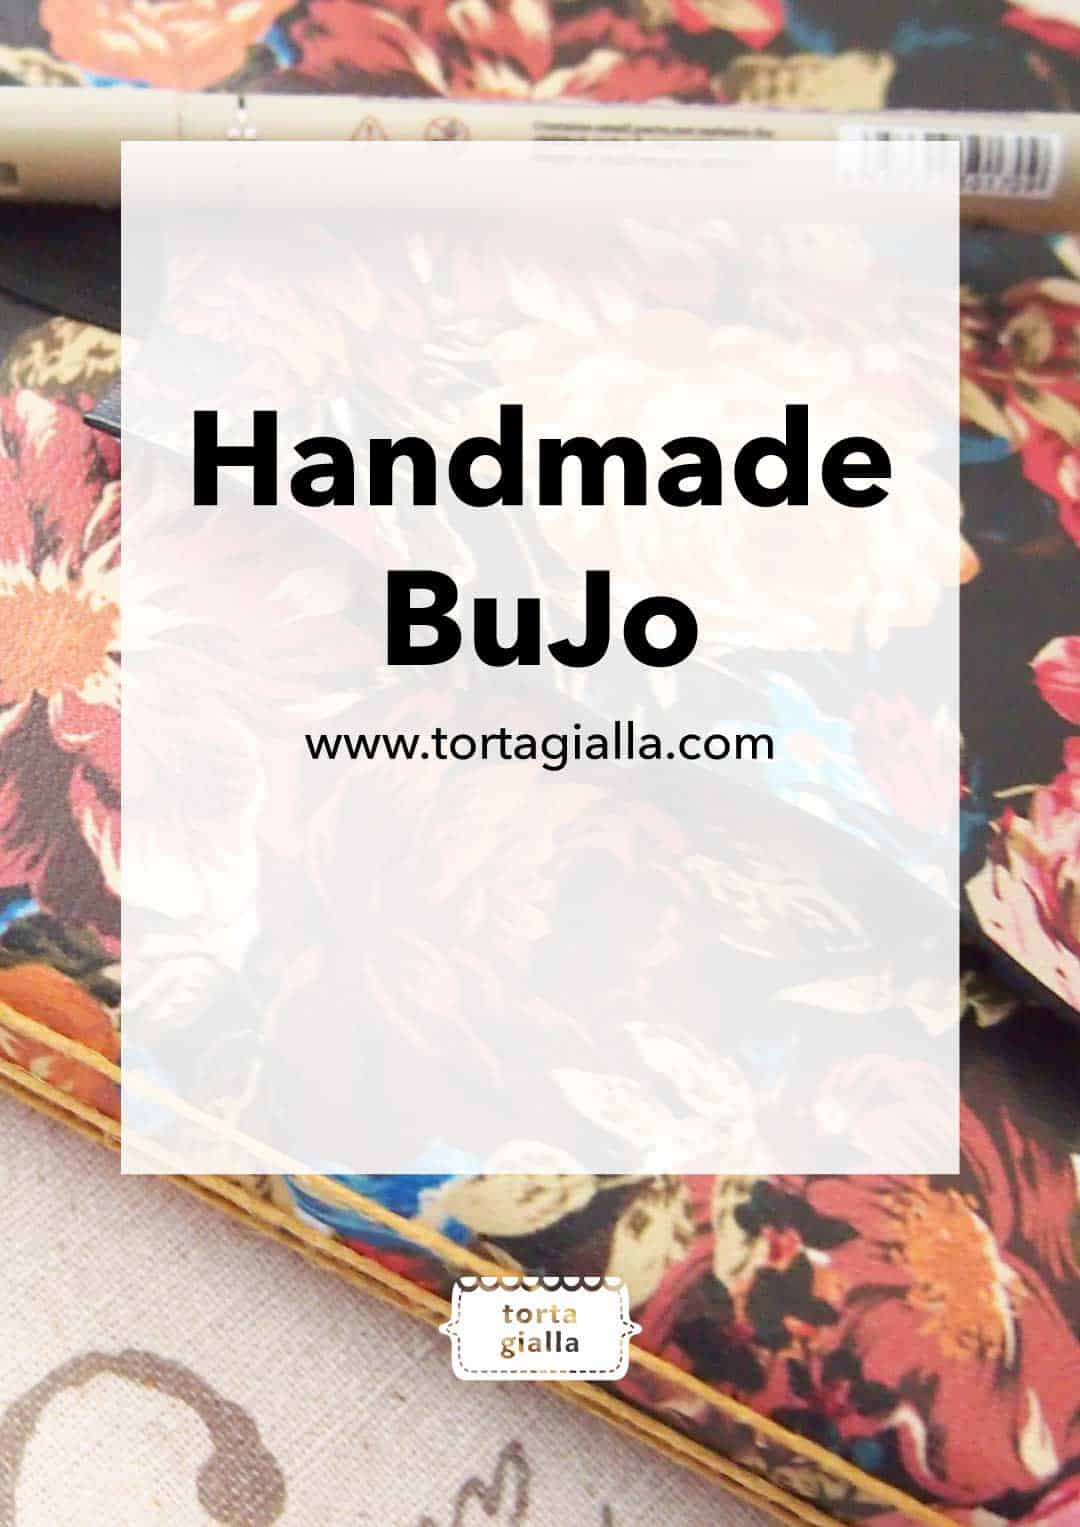
Today I thought it would be nice to share how I made myself a leather bullet journal to start my year out on the right foot. I’ve always made myself art journals, since learning how to bind books and since I have access to lot of leather scraps, it seems only natural for me to make my own bullet journal instead of buying on.
I actually tried to print specific page layouts and grids, but found that I didn’t really like them that much. So I decided to go with plain white paper and just go with the flow. I can sometimes get frozen into perfectionist tendencies, so I’m trying to break that bad habit! We will all have to live with our mistakes and nothing can be perfect, right?
If you’ve visited my blog before, you’ll know that I have posted tutorials for coptic stitch bookbinding and longstitch bookbinding. I personally go with the simple longstitch binding method most of the time as it suits my needs and is much easier as well. So for my new bullet journal, I created it with much of the same exact process as my previous art journals.
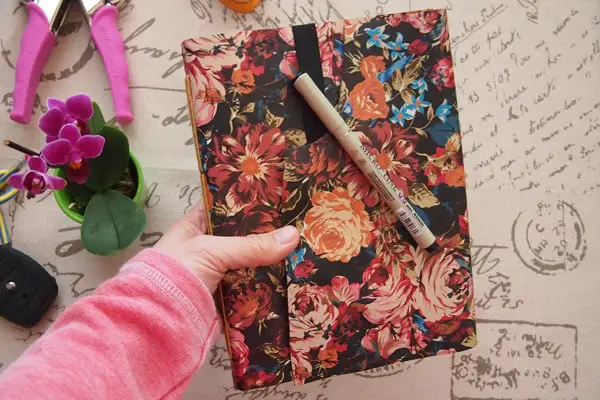
First I found a piece of scrap leather that I wanted to use – in this case it’s black leather with a floral print on it. Then I measured out a piece of heaving painting paper to the size I wanted for my journal – A5, so I cut my paper to make the A5 spread plus spine height of 1.5cm. Then I added 1cm to top and side to give the half centimeter space all around to protect the pages. In this case, I also left more leather on the right hand side so that it could wraparound and close my journal – although this was an afterthought, so there’s no paper in that section. I will have to fix that at some point!
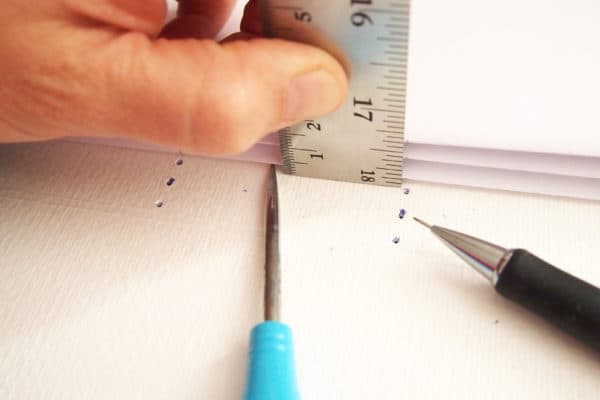
The sturdy journal cover is created by gluing and sewing the heavy painting paper to my leather scrap. If you are using very thick leather, you probably don’t even need a paper backing. Next, I fold all my paper pages to make the signatures that will be sewn into my journal. I’m not very precise when it comes to measuring to the millimeter, but I do use a ruler to make sure things are good enough to look neat to the naked eye.
I pre-punch holes in the cover and signatures with my awl and with everything prepped, it’s pretty easy to go ahead and sew everything together with a big needle. Easy peasy!
In the end, I have a handmade leather journal to use as my bullet journal for 2017, although it might not last the whole year – but I can just make another one. You can do this with any kind of material, it doesn’t have to be leather. You can use cloth or felt or upcycle and old pleather jacket – hah! Just give it some structure/sturdiness by mounting your material on heavy cardstock if you need it.
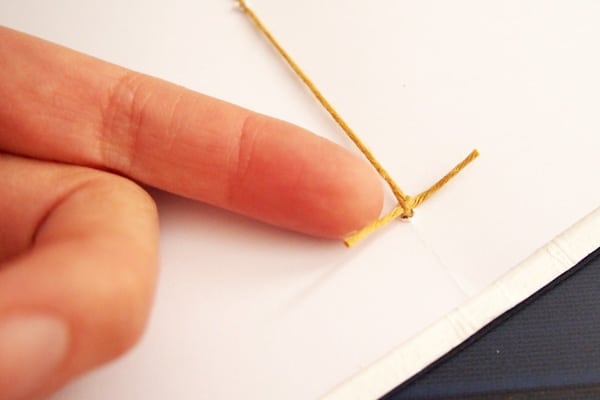
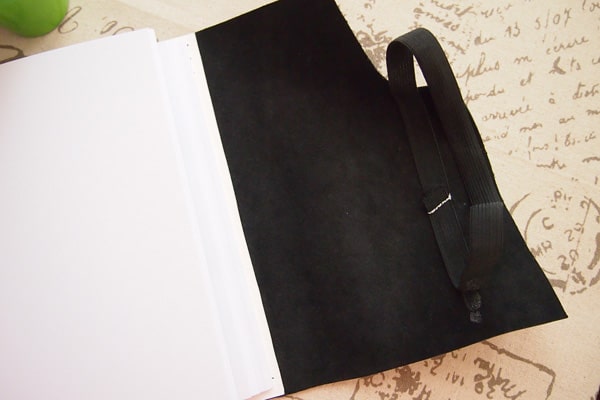
As I mentioned before, I left more leather on the right hand side, so that it could wrap around the journal to act as a cover. I sewed a piece of elastic in that part for the purpose of closure, but without the paper backing, it’s not very sturdy in this section. Not sure if I want to add just another strip of leather to something else. I’m going to wait and see how I feel as I use the journal.
I’m quite happy with the results, even if the wraparound closure is a bit clunky. Hope you are inspired to make yourself a bullet journal or any kind of art journal, because it’s pretty easy to do!
If you don’t like blank pages, try binding up a bunch of mixed media papers and you’ve got yourself a very pretty art junk journal. I’m pretty sure the process is easy enough even for kids to do. Just punch the holes for them and use blunt needles! You can find me on instagram if you want to follow my bullet journaling and creative adventures. Thanks for checking out my handmade leather bullet journal process!
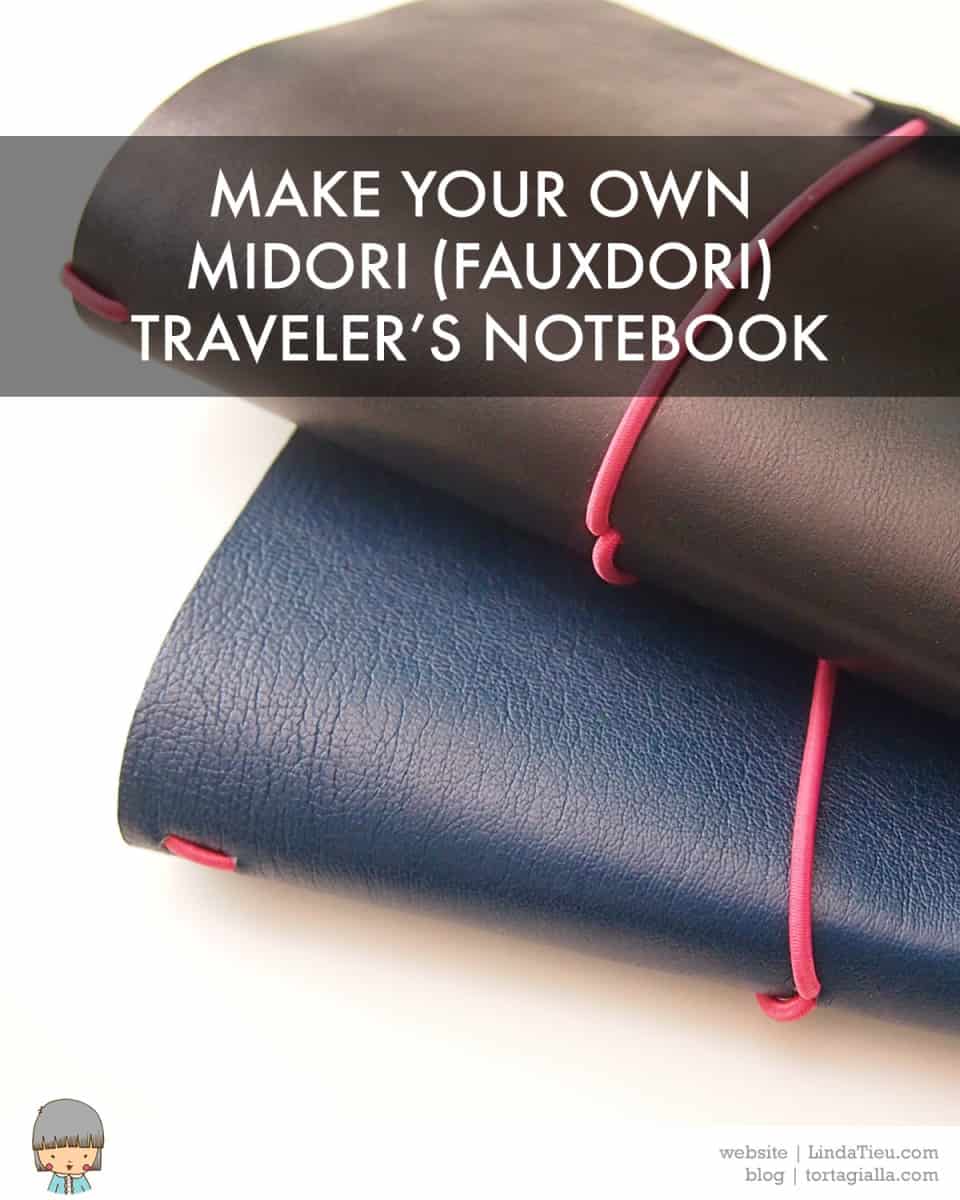
I’ve been looking into paper planners recently and kept seeing the mention of Midori journals and notebook inserts. Although it’s been around for a long time, I never actually understood what it was. The Midori Traveler’s Notebook is basically a leather cover with elastic bands inside that enable you to slip in and out saddle stitched inserts. This means that you can use the same journal cover over and over, just swapping out your notebook insert inside.
Of course, the original brand name is Japanese and not the cheapest on the block. People have copied the idea and often go DIY, calling them fauxdori. Although the Midori was originally intended for travelers who would swap out inserts for every trip, nowadays people use the same idea for all kinds of purposes. Everyday sketchbook artists, planner addicts, list makers, diary writers, bullet list journalers – you name it! The system is so flexible, it’s just a great way to keep a perpetual journal for any topic or hobby.
I decided to jump on the bandwagon and try my hand at making a Midori (fauxdori) Notebook. There are lots of tutorials out there and definitely some variation in regards to sizes and how the elastic band is bound into the cover. But ultimately, all you need is durable material for your cover, the elastic band material and some basic bookbinding tools. All the other details are sort of up to your preference.
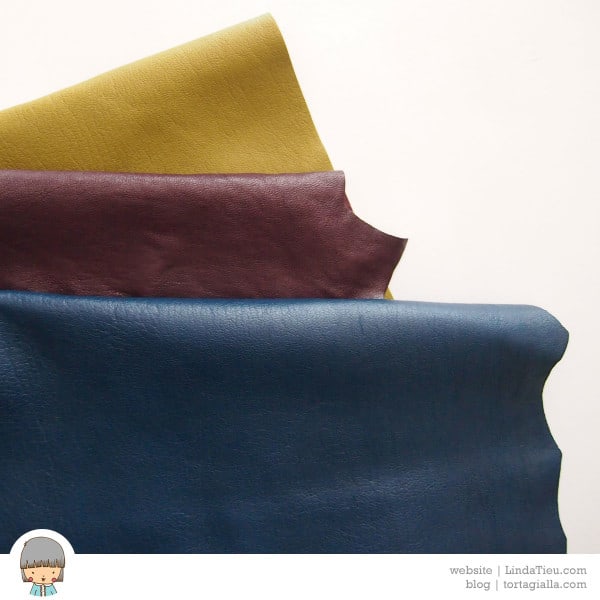
After rummaging in my stash, I decided to use the dark blue leather for my first fauxdori notebook. Unfortunately, the leather is not a very thick and quite floppy. I know that not everyone has access to leather, but you can definitely consider any kind of material that will hold up to be a cover. Whenever I want to strength my cover material, I just cut a piece of cardstock to size and glue it to my leather. Besides adding strength, it’s a nice way to add a pop of color and design to the inside of your journals.
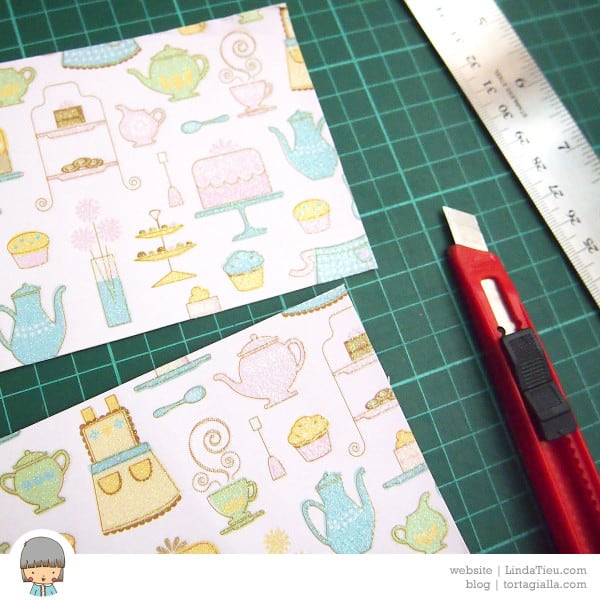
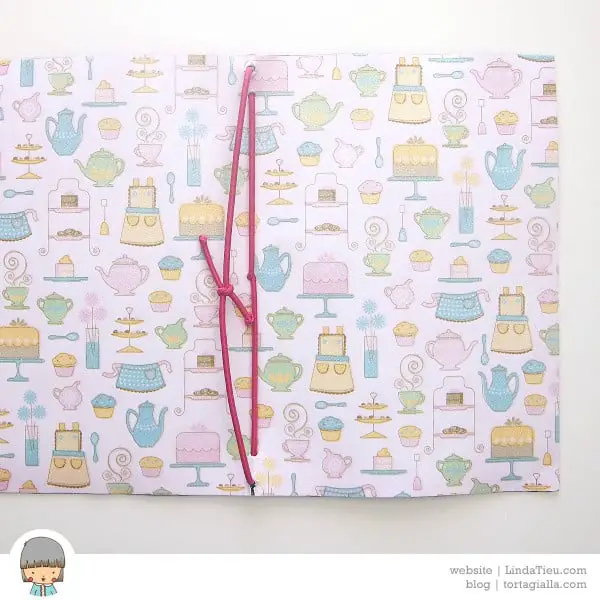
Since I live in Italy and we use A4 paper, I decided to size my notebook accordingly. You can see a bunch of note system page sizes here and decide what you want to go with. Depending how thick and expansive you want the notebook to be, you’ll have to calculate enough width for the spine area. I would have preferred to make mine wider, but I’m limited by the size of the patterned paper that is 30 centimeters wide.
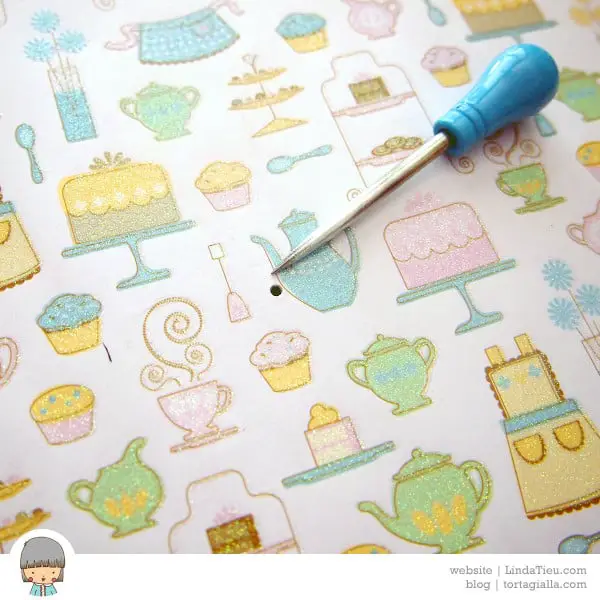
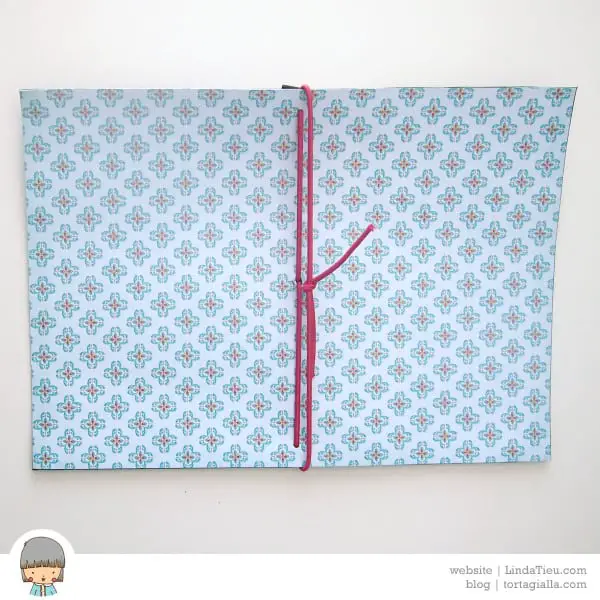
I cut my paper to size first, then glued it to my leather with standard white glue. After everything dried completely, I trimmed my leather to size and made some measurements to punch the holes for the elastic band. I ended up purchasing some colored elastic that you usually see with these types of notebooks – but I didn’t realize 3mm is actually really thick. I think it’s too big because I had to punch really large holes to get it to fit through.
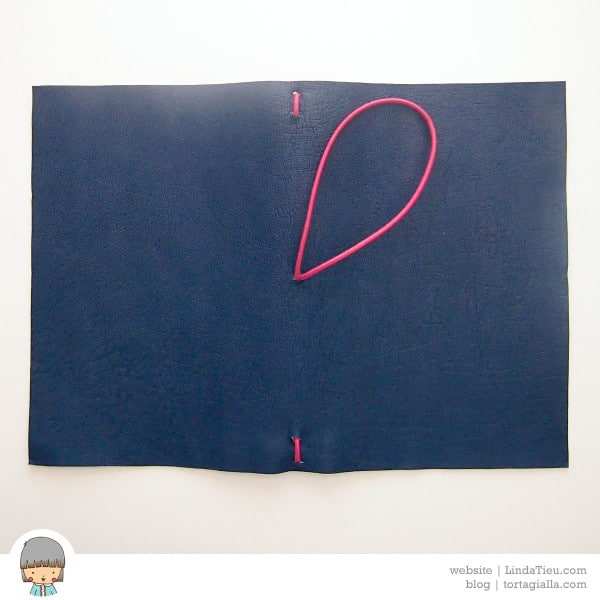
I punched a hole in the middle of the spine for the wrap around part of the elastic. You might have seen that some journals have the closure cord separate and knotted on the back, but I don’t like the idea of having a bump under the writing area of the notebook pages. Now comes the part that tripped me up a bit in the process. I realized that the cover has to be much larger than your notebook insert size from top and bottom, because you have to punch holes for the elastic and the notebook has to slip in. How close did I really want to punch these holes to the edge of the cover? Especially since my cord is so thick, I was risking weakening the whole cover structure and possible tearing through use.
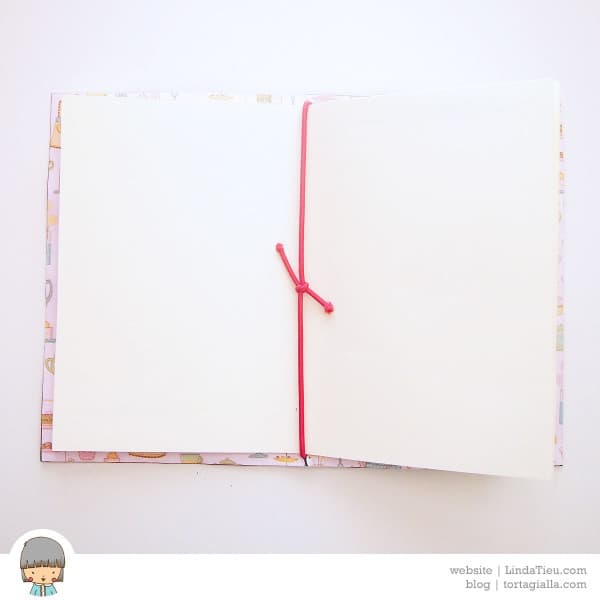
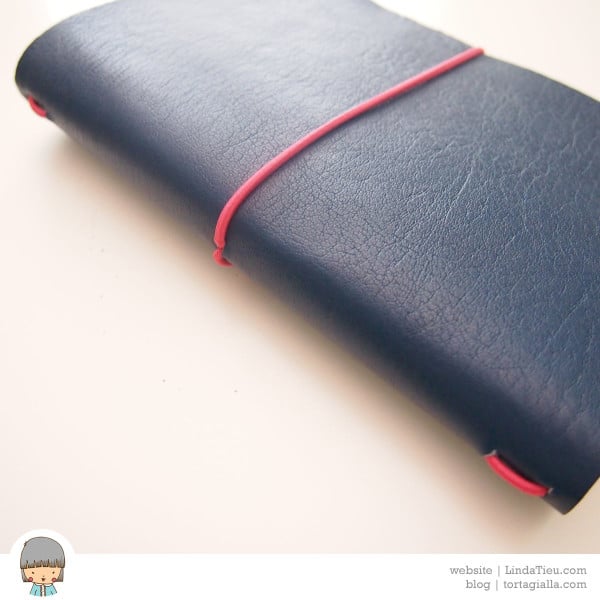
In fact, with all the wrangling I ripped the paper lining at the bottom of the cover as shown in the picture above. Below you can see a view of the finished cover from the outside.
In the end, it wasn’t a total loss, because I just had to cut my notebook insert paper down a 1cm to fit into the cover. I suppose it’s not too shabby for my first try.
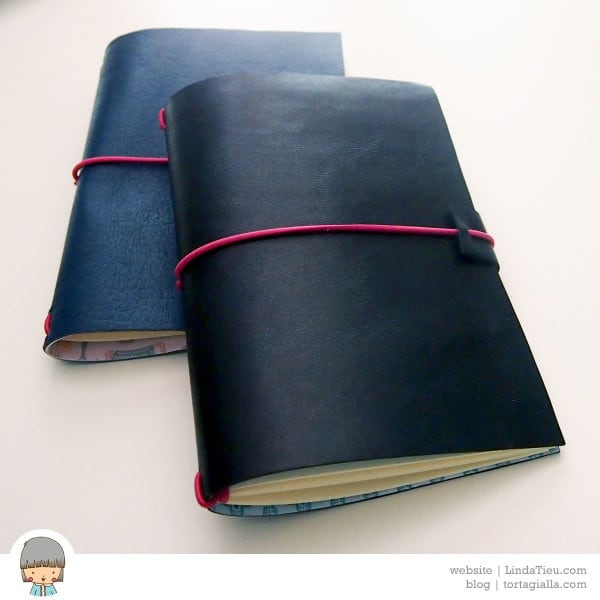
Of course, from the hands-on experience I immediately wanted to make another fauxdori with a few improvements. Instead of punching holes in the cover to string the elastic through – reducing the size of the insert that can slip in, I wanted to try wrapping the elastic over the top and bottom of the cover. Of course, it depends on you having a strong enough cover material to withstand that pressure, so this second attempt uses a heavier weight black leather.
I also added a little strip of leather with the wrap around part of the elastic, so the pressure wouldn’t rough up the notebook papers on contact, when closing it up.
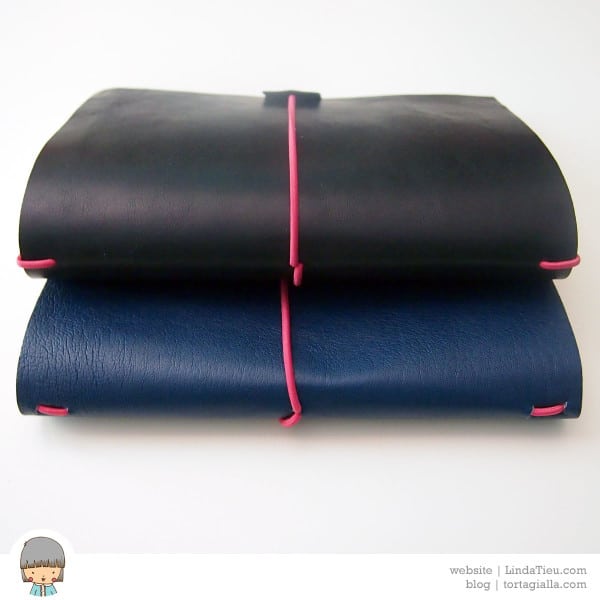
Obviously, all this has to be tested with tried and true usage, to see what really happens. I ended up with two fauxdori covers to test out… perhaps will carry it around in my purse to see how the wear and tear goes.
Coming from a bookbinding perspective, I know there are lots of variations possible in terms of where to punch the holes and how many strands of elastic to include, depending how expansive you want your notebook to be. I’m thinking of horizontal row of holes and needing more width for the cover in general. Or maybe even using slits instead of holes.
Lots to consider and think about… not to mention real-world testing.
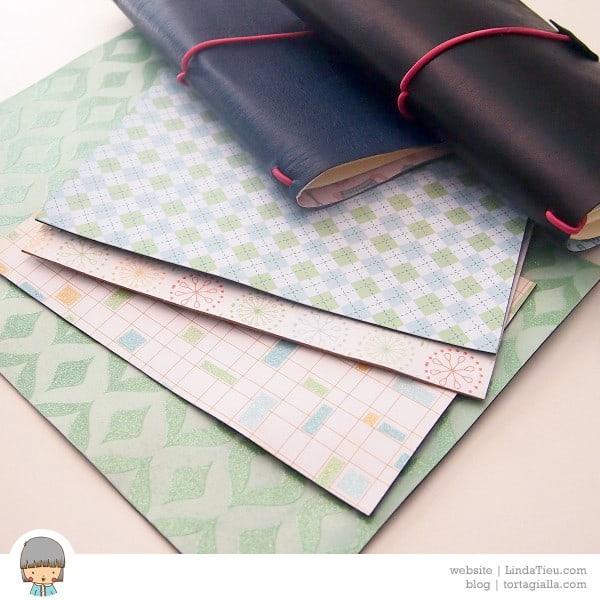
Well, since I have a whole lot of material available, I will be making more of these to try out some variations in construction and sizes for different purposes. I’m thinking that personally I would definitely use this system for notebooks in my purse, because it’s usually quick notes and things I jot down, not necessarily to be kept forever. It seems the kind of usage that makes sense for something that can be perpetually swapped out.
Have you tried to make a fauxdori? Did you run into any issues or would you opt for traditionally binding a journal?
Angel policy: All free printables posted are for PERSONAL USE ONLY. Feel free to share as long as you link back to this website. Thank you for spreading the love!
Appreciate my work?
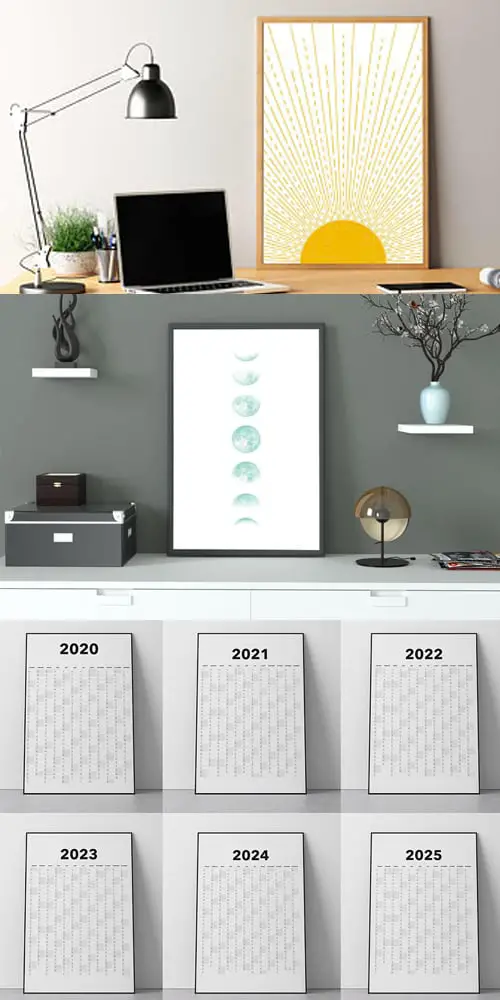
Need calendar and art printables? Check out the premium poster printables in my Etsy shop Print up to 1 meter tall at 300dpi.
DISCLAIMER: This blog contains advertisements as well as affiliate links. We might be compensated if you click through to affiliated recommendations through ShareASale and other reputable companies. As an Amazon Associate I also earn from qualifying purchases.
For more information: Terms and Conditions Privacy Policy Cookies Policy