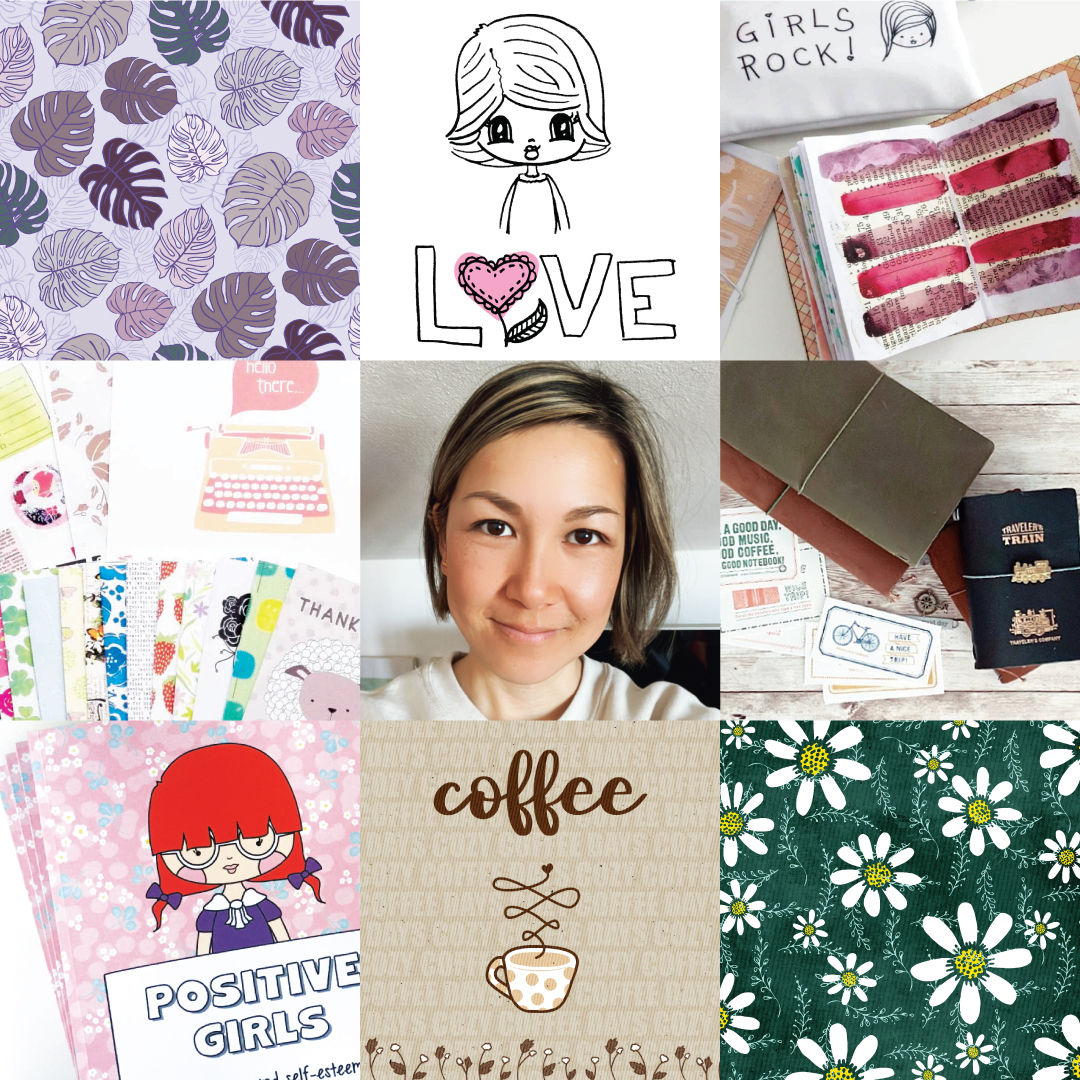
Since I can think of nothing else but bookbinding today, I thought it was about time I wrote a tutorial and explanation of how I make my journals and sketchbooks and even more importantly – why!? I’ve always been in awe of the fine art of bookmaking, but really I started making journals for myself to use. It was simply easier to fold up a bunch of papers I had lying around and start journaling. The ability to customize the size, the papers and add in little details made my journals even more special to me as well. However, I soon fell in love with the bookmaking process itself. I kept making journals and even though I work in more than a handful of journals at the same time, I quickly produced more than I could ever use.
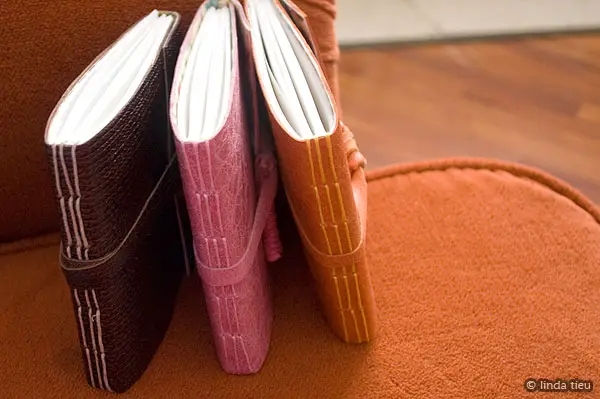
Sometimes I’m inspired to create when seeing a cool book design or stitching method. Other times I come across an interesting material that I want to test out as a journal cover. However, I also just like the process and enjoy going through the motions of transforming paper and raw materials into a functional and beautiful creation. It’s a great feeling that drives me onward when it comes to bookmaking. For some reason, it’s amazingly easy for me to bind a book even when I’m tired or don’t feel like doing much. Perhaps it’s muscle memory in my hands, just creating with intuition…
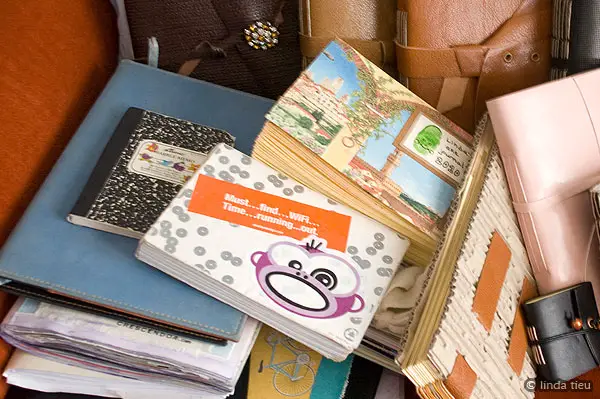
I most often use leather for my journal covers and that is because I acquire remainder stock from local production companies here in Tuscany, Italy. These are sample pieces and leftovers that would have been tossed in the dump or destroyed. I’m all for saving the material from a short life and turning them into little journals for all of us to enjoy. I’ve been sending them to friends and family as well – they really make great gifts! I used to buy journals to give to people, because I’ve always loved the idea of journaling. It’s a place to dump down your thoughts and express your emotions…or even just write your grocery list into. I feel like it’s a necessity and everyone should have a little notebook and pen in their pocket, purse, car…
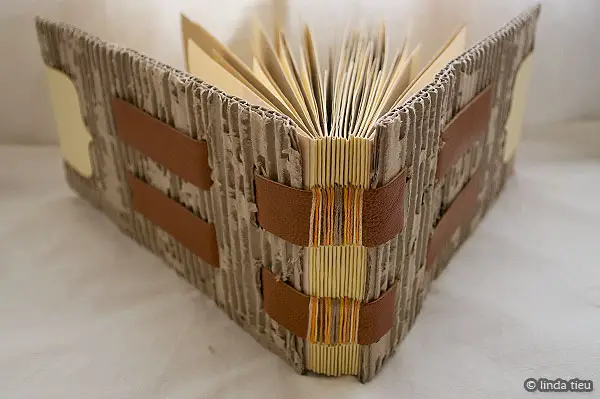
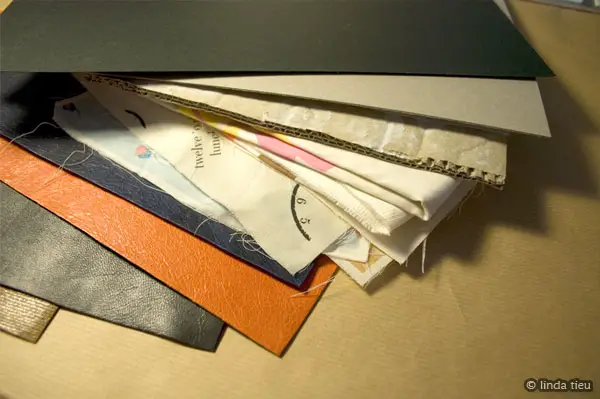
So let’s get right into the basics of making your very own journal! Let me show you the general process, step-by-step before we delve into more details and some fancy stuff. To begin with, you must choose some type of material for your cover and inside pages. It can be as simple as some heavy cardstock for the cover and white copy paper for the inside. Or you can try some chipboard, cardboard, fabric or leather as I often default to using. For flimsier materials such as fabric and leather, it’s good to glue in some liner paper. In fact, you might want to glue some pretty decorative paper to cover raw materials or even paint over cardboard to make it look a bit nicer.
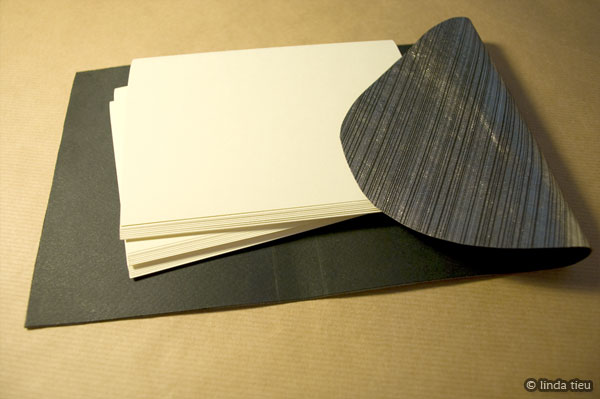
In my example, I chose to use a piece of black leather with silver metallic lines. It’s pretty thin, so I glued black cardstock on the inside to give it some strength. I pretty much eyeball my measurements because I can’t cut straight for the life of me and detailed measurements are a bore 🙂 I just take a rough measurement of my paper size, giving a bit of room for the binding depending how many pages I want to include. You’ll notice that I cut a bit more leather to create a flap on the right…we’ll see what that is for later. This works for materials that can easily wrap around the book.
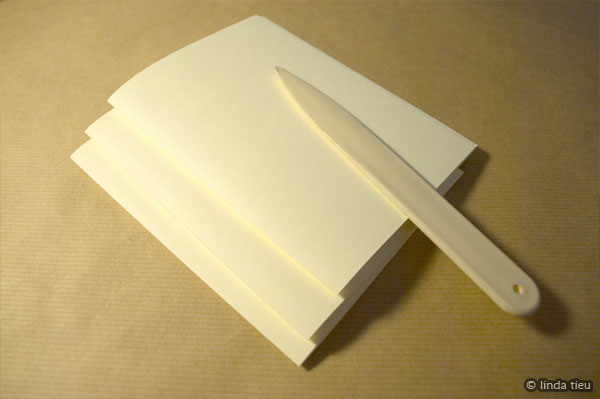
You will notice that I folded my inside papers and grouped them together. Each group of papers is called a signature. It’s basically papers folded in half that you will be attaching to your cover in some way. I use a plastic bone folder to help me crease all the papers nicely. It’s a great tool once you get into bookmaking, otherwise your fingers will be sore…trust me on that.
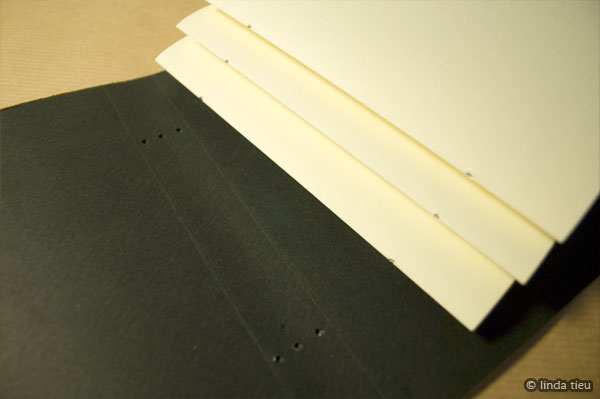
Once you have your cover and papers ready, it is pivotal to prepunch all your holes before stitching. It just makes the process of sewing a lot easier and does force you to do a little planning in terms of spacing and how you will be sewing it all together. The binding method I chose to do is super simple and all you need are two holes in each signature. You’ll see that I punched 2 corresponding holes for each signature in the cover as well. Now it’s time to sew!
I use embroidery thread and a big needle to sew my books together. You can buy waxed thread to prevent knotting up and pretty much use anything that you can string through easily. I’ve used various kinds of string and ribbon as well…it’s a bit up to your taste. I say use whatever you have available.
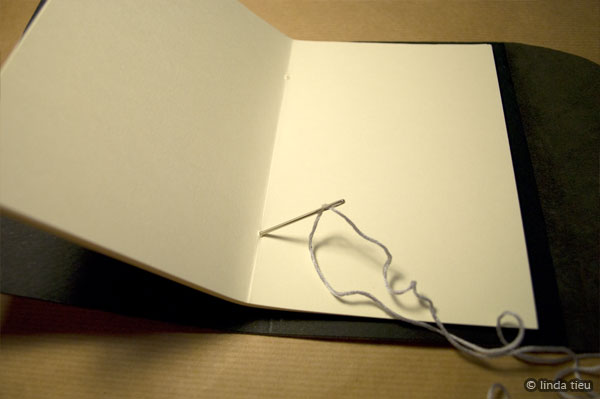
First step is to stick the needle through the bottom hole from the inside of your signature. Stick it through all the papers and the cover to the outside.
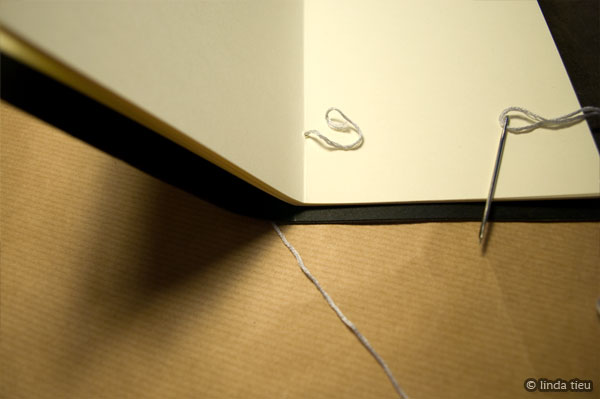
Then you pull the thread under and over the outside edge of your journal to tie a knot with the tail end of your starting point. It’s like you just looped the bottom part of your journal up. Remember when tying your knots to make them as tight as you possibly can without ripping through your papers. Leave a little tail here, so that you will be able to tie another knot at a later step.
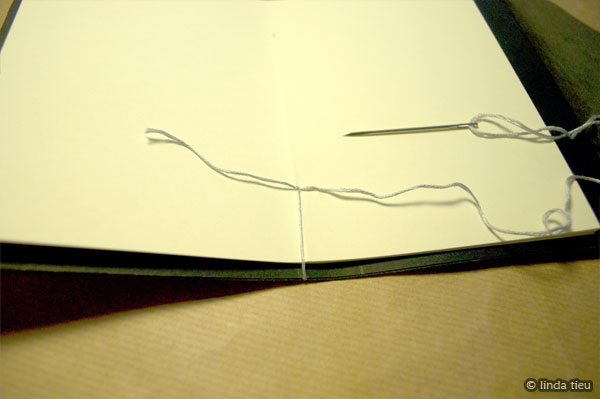
With your knot secure, you bring the thread up to the top hole and stick it through your papers and cover to the outside.
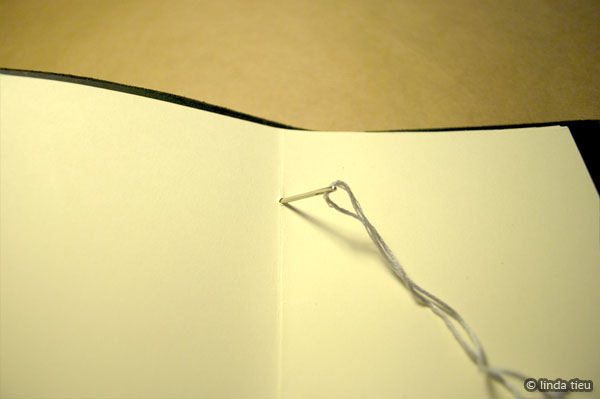
Then you bring it up and over the top of your journal, going back into the same top hole again.
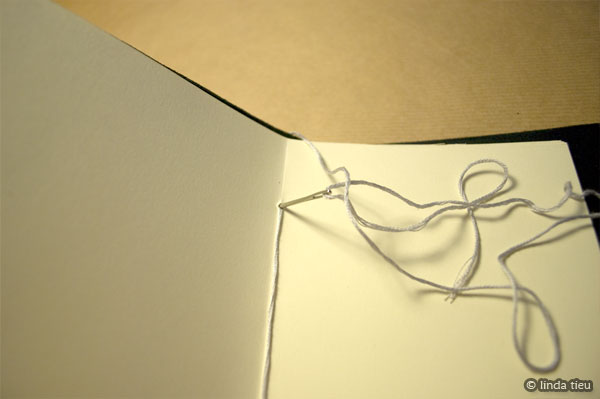
You’ll end up on the outside of your journal, creating that loop around the top of your journal to secure the signature nicely to your cover. Make sure that your thread is tight and nothing is loosely hanging around.
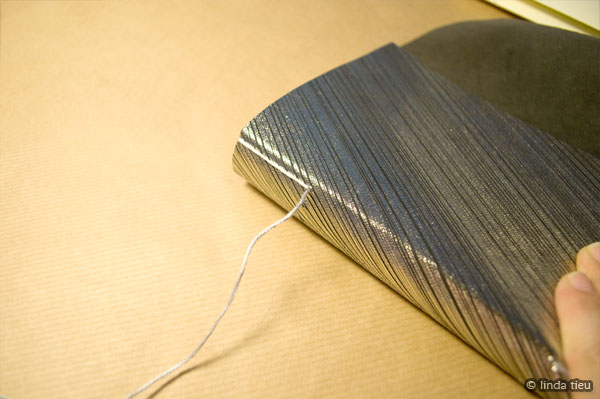
From here you bring your thread down and stick it into the bottom hole. You are going into the journal and ending up in your start position, inside the signature.
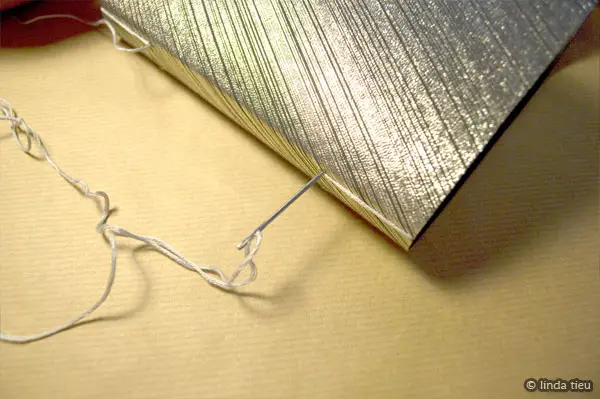
Here you are in the original bottom hole, where you started to begin with!
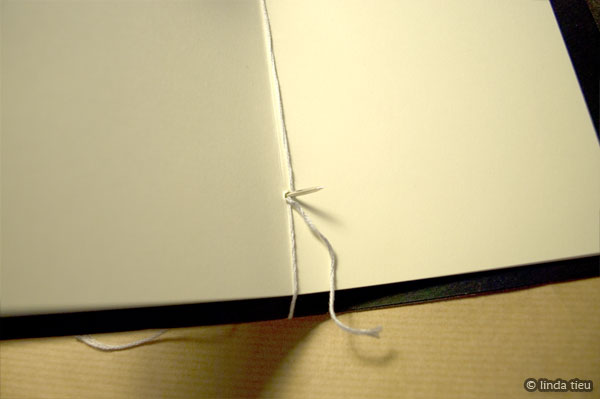
That’s it! You are done after making sure the thread is tight and tying a knot with the starting tail of thread you’ve left there. Then you can snip the threads to an even measure and tah-dah! One signature of paper securely sewn to your cover.
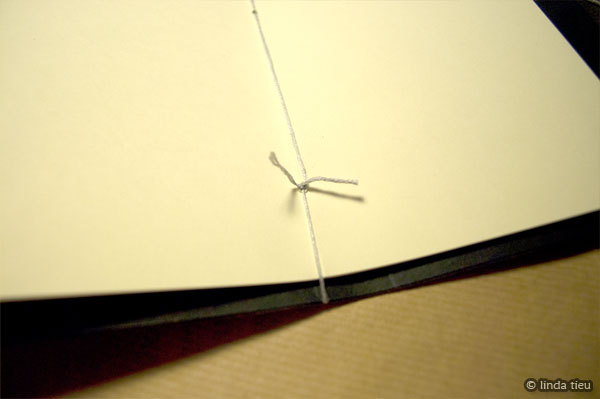
You will notice that with this simple stitch, you see the thread all along the spine of your journal on the outside and inside.
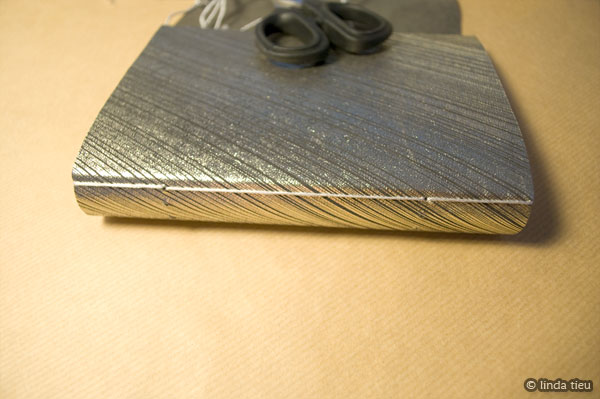
You basically repeat the steps above for sewing in all your signatures of paper…one by one. This stitching method is easy because you can tackle one signature at a time, making sure the thread is tight and secure. Note that you need about double the height of your journal in thread for each signature.
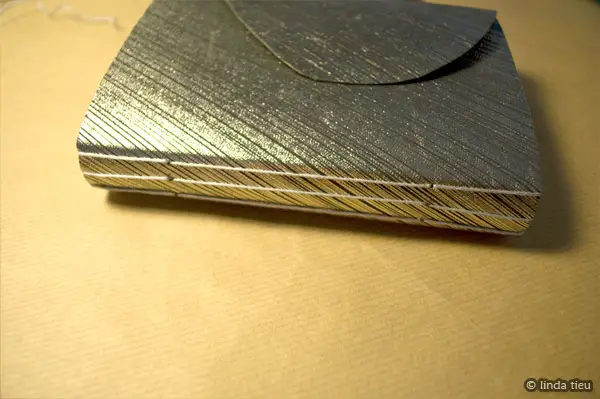
After sewing all your signatures into the cover, you are done. You’ve hand-bound a journal all by yourself! Of course, if you used a soft material like leather in my example here… you can allow for a wrap around flap. I usually do this because it’s a nice way to close up your journals, especially if you throw them in your purse. A closed journal means less smashed up papers on the inside. Creating a closure is also really simple. My go-to-method is to punch two holes in the flap.
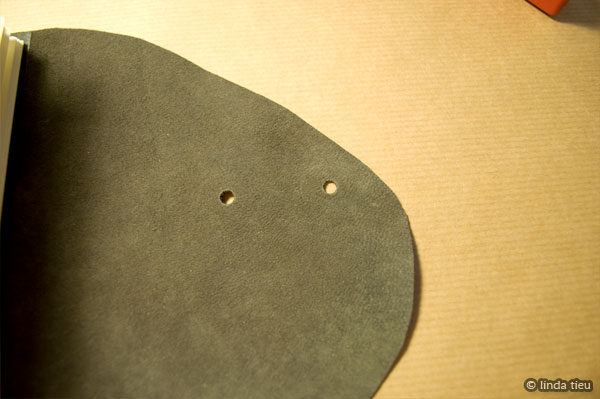
Then I used a long strip of the same leather material, braided ribbon or rope to string through the two holes as you see in the photo.
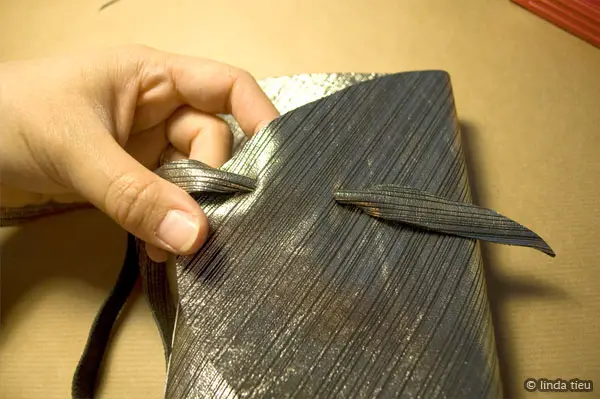
Tie a knot or two on one end so that it holds in place, then wrap the material around a few times, slipping the end securely in place. That’s it for the wraparound closure. Simple, but effective.
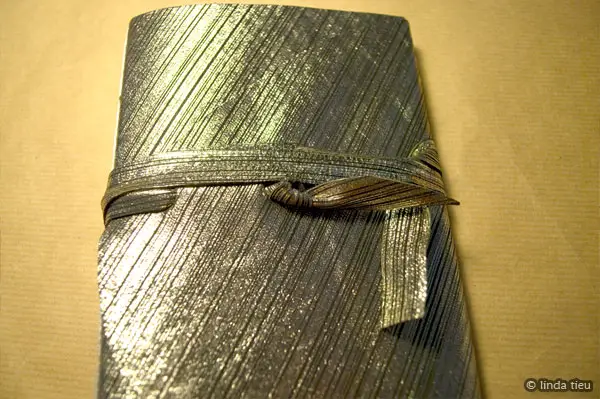
I’ve created countless journals following this basic bookbinding process. In fact, I often prepare multiple covers and signatures, so that I can sew a whole bunch of books together at once.
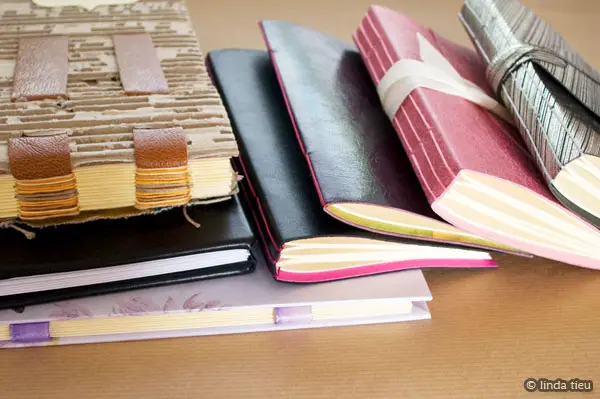
From the basic process, you can vary up certain elements to create a variety of journal styles. I mostly use leather covers, but I’ve also used grungy cardboard and paper covered chipboard as well. You can also experiment with different papers inside and changing up the number of signatures as well as the number of pages per signature. It really depends on the thickness of the paper you use…the idea is make sure each signature is strong enough to withhold whatever stitching you will be doing. You don’t want your thread to rip through your paper – for example, if you want to use only one sheet of paper per signature. In that case it might actually be better to using a sewing machine or make sure you use extremely thick paper that can withstand the stitching without tearing. Once you try making a book or two, you’ll find there are so many possibilities. Experiment with the cover material, liner papers, signature papers and stitching methods.
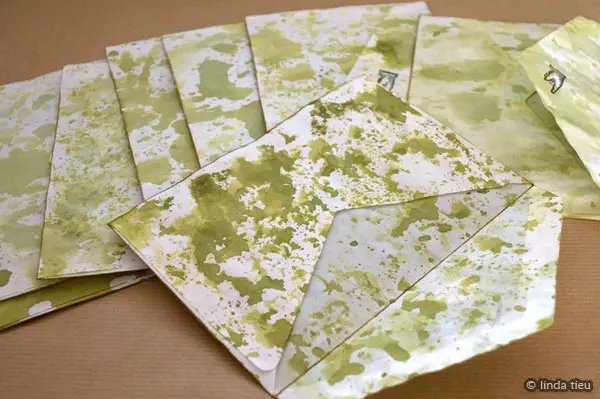
My grungy envelopes above are ready for another experiment in bookbinding. Wouldn’t it be cool to have a few pockets in your travel journal to collect ephemera? You’ll have to wait until tomorrow to see what I’m up to. I hope you’ve learned a bit from my simple tutorial in bookbinding and really wish you would give it a try sometime.

