Babysitting my niece is always a joy and an adventure in crafting. She’s in that wonderful creative stage of seeing something and asking if we can try making it, straight away. Just like that, no thought of it being too hard or if we might not have the supplies.
Let’s just do it because it looks fun! I absolutely love the enthusiasm.
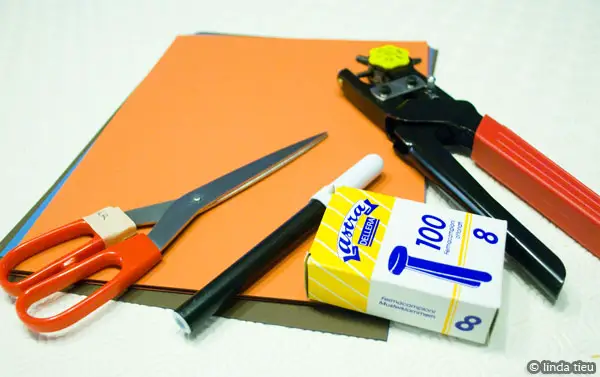
This time around we saw a segment on TV on how to make a moveable paper doll which can be very easy for kids. You’ll need some paper, a marker, some scissors, a hole puncher and those bracket thingies that I can’t seem to think of the word in English… fermacampioni in Italian.
This is the easy way to do it, without having to print anything out, but I will be coming to the template soon…
The coolest thing that I learned, is how simple it is to draw the parts of the body freehand. It’s all about proportions and in presenting to the kids, we were told to draw two eggs, then a head with neck the same size as the two eggs. Then 8 big sausages and 4 little sausages.
How funny is that? It made complete sense to my niece, so I guess sometimes you just have to put things in perspective for kids. Totally easy peasy.
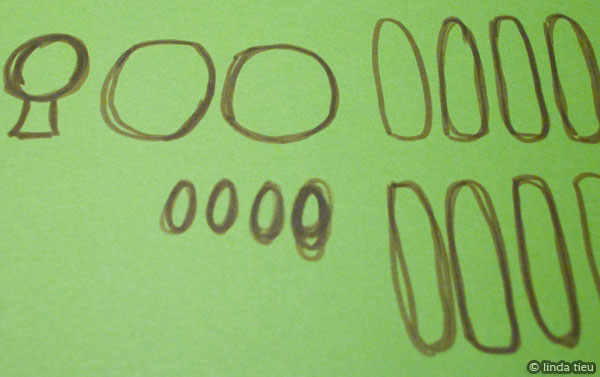
I cut out all the pieces and at this point I had to help my niece out a bit for the smaller pieces. Depending on the age of your kids, you might have to help out!
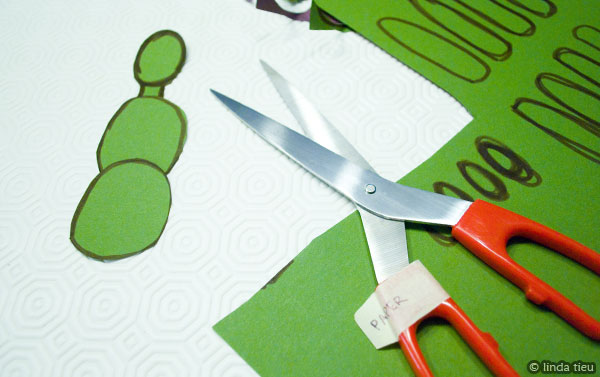
Now you can see the doll coming together, even though we just had simple ovals shapes. You simply connect all the parts together by punching little holes and attaching with those bracket thingies. You don’t want to secure them too tightly though, otherwise the parts won’t move as easily.
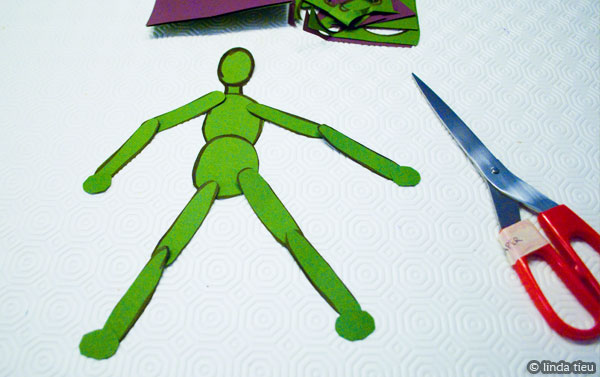
When you put it all together, you’ve got yourself a little moveable doll. Pretty cool, huh? The bracket thingies I had on hand were really large, so you can see them sticking out all over… but it still works for positioning the doll.
I remember creating a template for dolls before, but this way is so much easier, completely freehand! [Note: I created a brand new printable doll template – check it out here]
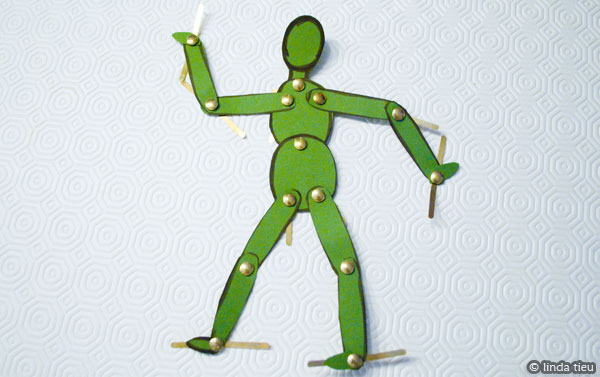
I thought this was a really fun exercise to learn about proportions of the body and drawing the figure as well. You can use your doll as a tracing template, putting it on top of paper and creating a pose. Then just trace!
This is especially cool with kids because it’s easy for them to put the doll into different positions and trace for a variety of images to color up.
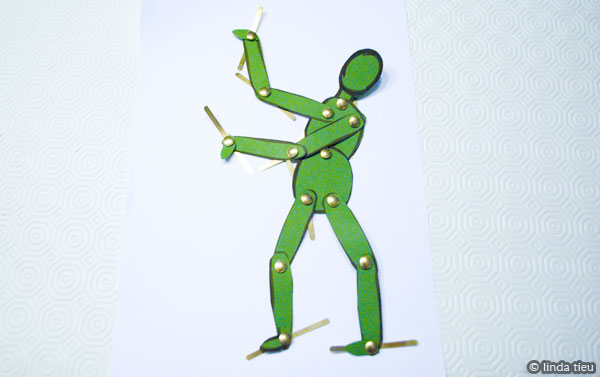
Wah-lah! Just like magic, huh? You can imagine the possibilities! It’s like a paper version of the dummy that you usually buy in art stores for drawing.
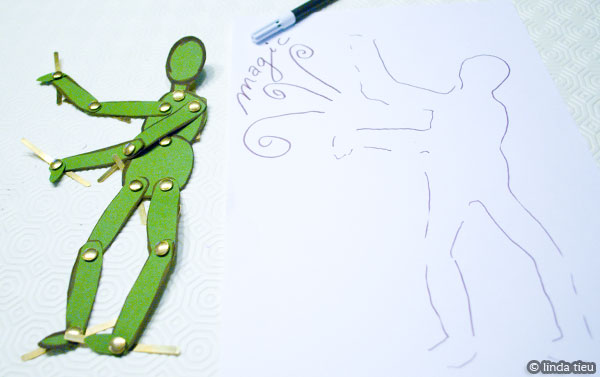
So the process of creating the doll was pretty fun in itself, but it’s cool to play with it afterwards, too. We found that if you throw or drop the doll on the table, you’ll end up with some pretty funky positions.
Just hold it up and let it fall on the table… you never know what position you might come up with! You might have to loosen the brackets a bit if your doll doesn’t move enough.
My niece was playing and having fun for a while and she came up with some cool dance move positions. After making this little version, I realized it would be even cooler if we went bigger! You can use some cardboard and make a larger doll to play with!
I hope you enjoyed this idea – enjoy!

