I know that toothpick flags have been around for a while now and it’s no wonder how popular they are in scrapbooking and cardmaking. Toothpick flags are just so darn cute!
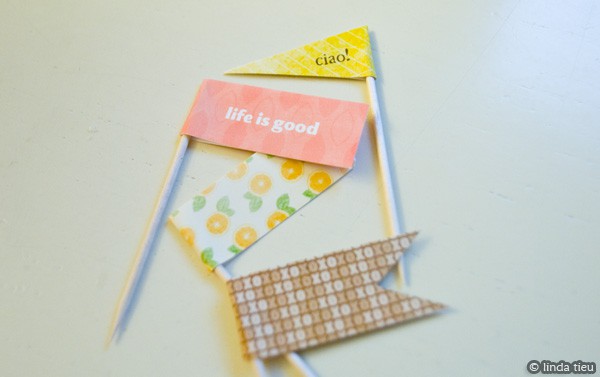
The supplies I like use are often difficult to find here in Italy. So I’ve decided to create my own through trial and error. Toothpick flags seem pretty straightforward to tackle. A simple idea, but you can create unique variations and combinations the DIY way!
Step 1 – Find some toothpicks!
I only have the plain jane ones. However, I’ve seen examples with little fork shapes and decorative tops as well. You might consider coloring them or using variations to create different types of flags.
Step 2 – Choose the material for your flags.
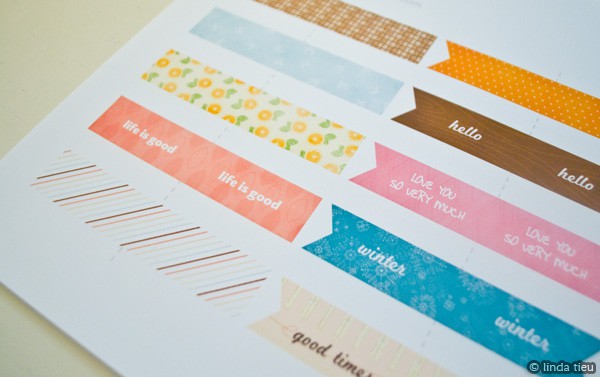
I’ve seen the flags made with patterned paper, ribbon and decorative tape (those washi tapes are all the rage). But I’m sure there are other materials that can be used. I’ve actually created my own designs and printed them on regular paper at home. Feel free to download the designs your own personal use below.
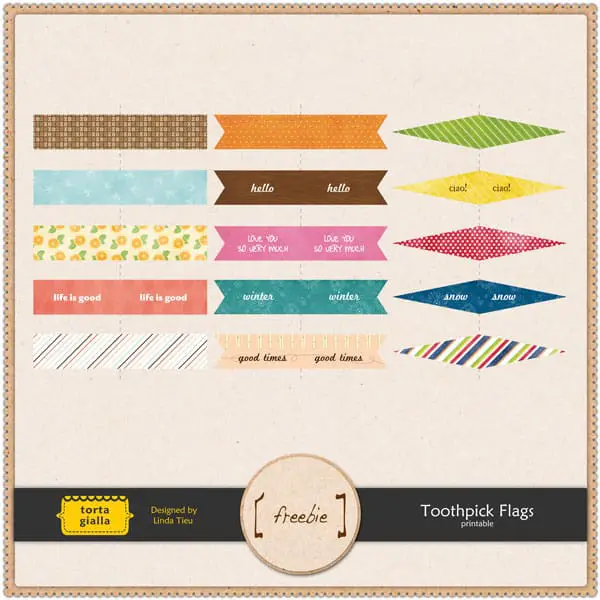
Download Toothpick Flag designs ZIP file
Step 3 – Cut and Fold Flags
Although you technically only have to create one side of the flag for a flat layout, I like creating the real thing for the full effect. This also gives you the freedom of flipping the flag around when using it in your projects. You can see from my designs that there are a variety of flag shapes as well. Experiment with the design, shape, size and length of your flags.
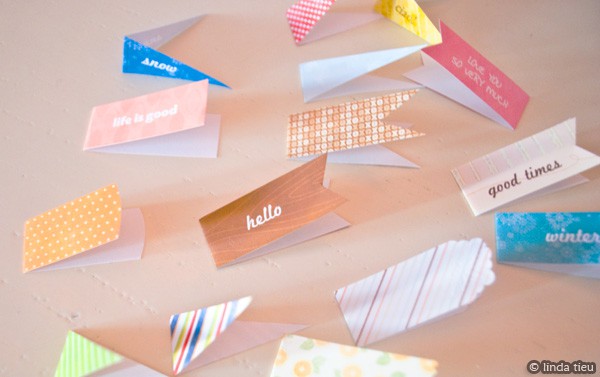
Step 4 – Glue Flags to Toothpicks
That pretty much finished the job. Tah-dah! I’ve found liquid glue to be stronger for this type of embellishment, but it really depends on your flag material. Just get those toothpicks to stick to the flag and you’re all set.
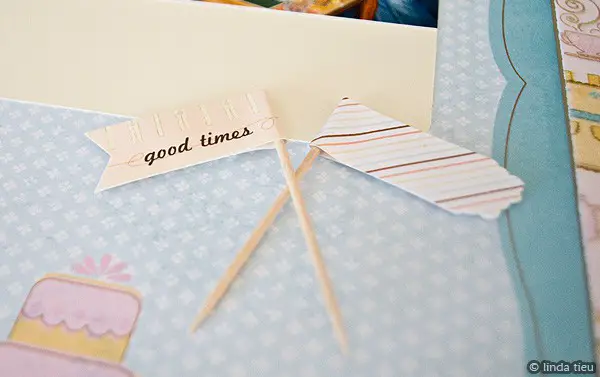
When using your toothpick flags, I’ve found that tucking the flag behind photos or journaling blocks helps to hide the adhesive used to attach the toothpick in place. However, sometimes I just put adhesive under the flag part and show the entire flag and toothpick. I’ve also seen ribbons and embellishments tied around the toothpick part as well.
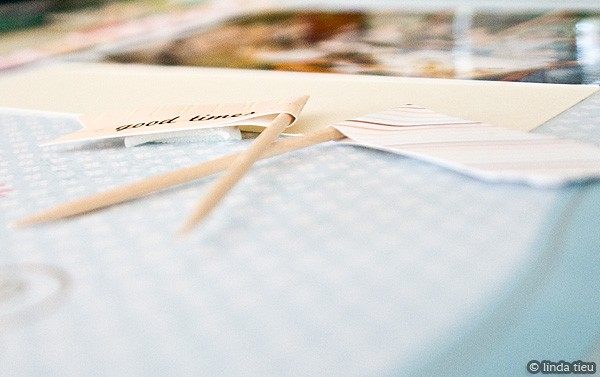
Some more ideas
Once you’ve got the basic process of creating the flags down, you can start thinking about embellishments and fancying things up! Consider using fancy borders for your flag shapes as well as adding 3D embellishments onto the finished piece. The possibilities are really endless and even better, you can always use scraps of leftover paper to create a matching flag embellishment for your projects – pretty cool!
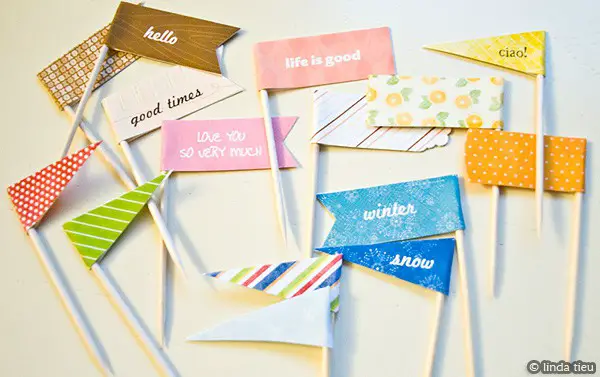
Let me know if you have any other tips, tricks or ideas regarding toothpick flags. I would be happy to try them out. For now I’ve created quite a collection for my papercrafting needs and having a lot of fun incorporating them into my work. Have fun!

