Looking for vintage printables free pages to print and make into a journal? Check out this freebie for creating your own junk journal.
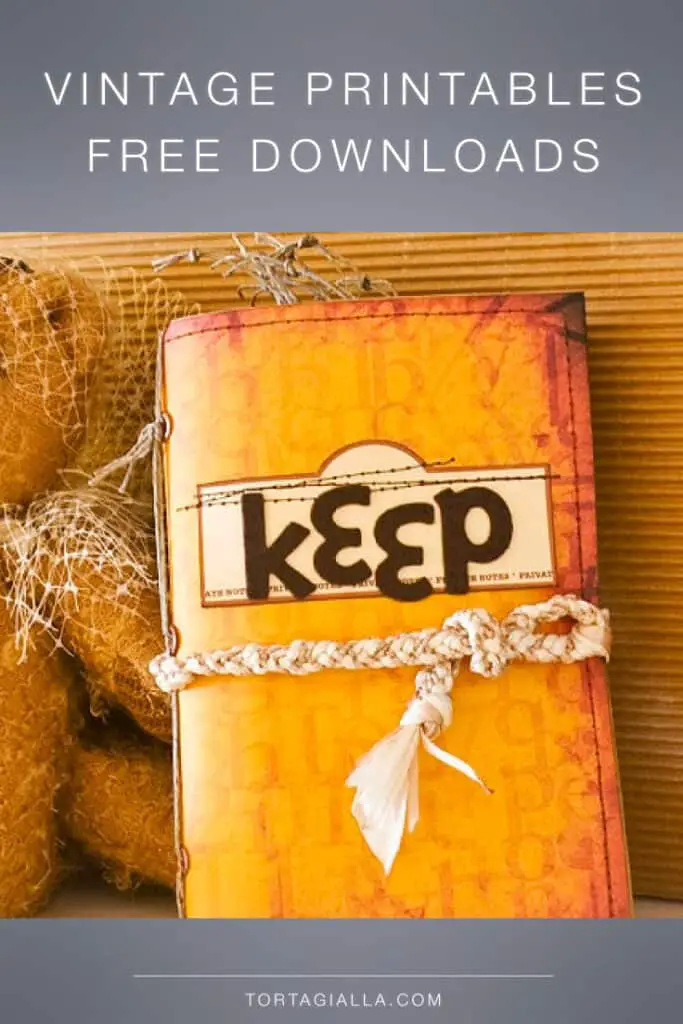
Vintage Printables Free Download
We all love a bit of vintage, shabby chic style at times and I think it’s a very pretty look for scrapbooking and keepsakes. Here’s an entire set of vintage paper background designs to print, along with some embellishments in the same theme.
Great for holiday journaling, memory keeping and just fun junk journaling and crafting – anyone who loves vintage and the Tim Holtz type of shabby style will enjoy these FREE printables.
I designed this whole set of printables to create a journal of keepsakes – things that make me smile. Originally it was an Etsy junk journal printables product, but it’s retired now and instead of keeping designs on my hard drive, I think it’s a lot more helpful to spread the love and post it here on my blog for FREE download.
The cool thing about printables is the ability to share it freely on the internet, across the globe and no matter what your craft budget might be, it can definitely be easier to get a few prints on paper and be able to make something yourself at home.
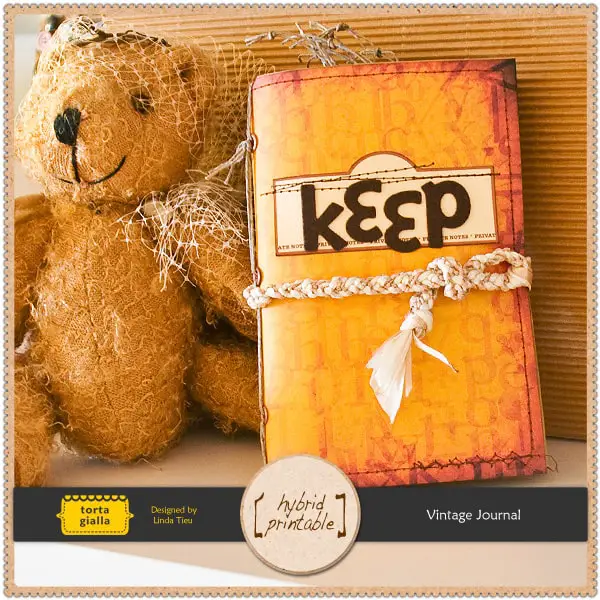
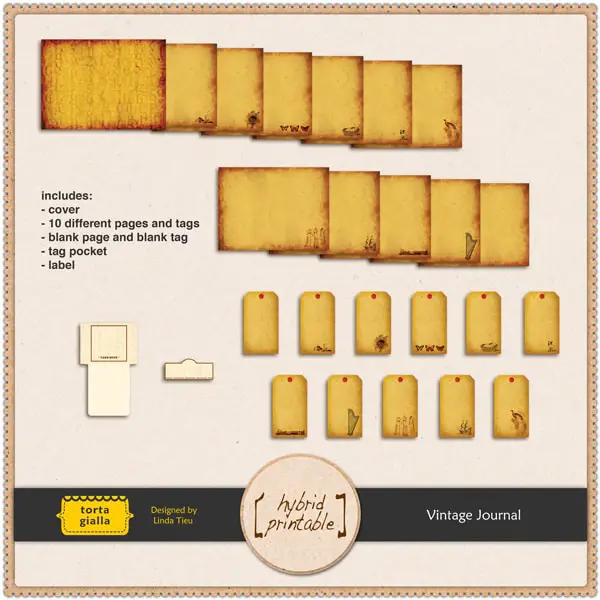
All the printable papers are included in printable kit:
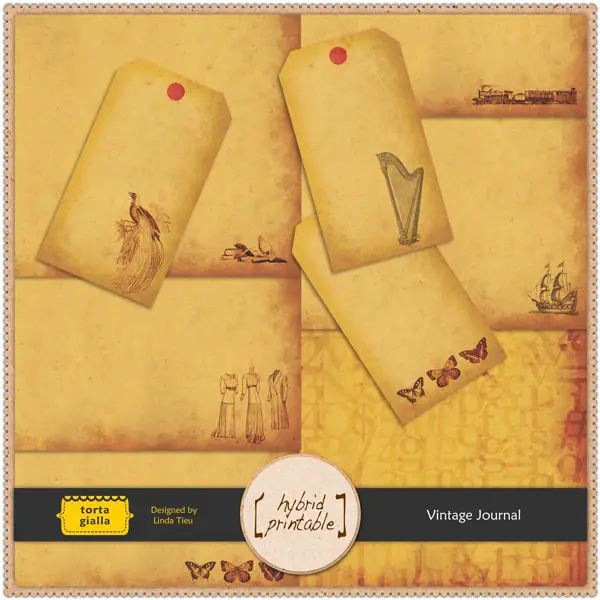
- 10 vintage background pages
- 10 matching tags
- 1 cover image
- 1 cover label
- 1 interior pocket design
- 1 blank page and 1 blank tag so you can DIY and create your own unique designs and embellishments
Since this product is printable, you can pick and choose the pages you want to use and print however many copies you need for your particular project. Please note that the cover image size does limit how thick your book spine can be – unless you have access to print larger than a regular sheet of paper or can piece two pieces of paper together – get creative and see what you can make!
Vintage Printables Free Download Instructions
Here’s a quick summary of how I created my vintage journal with this printable kit. I’ll offer alternatives and tips along the process as well.
STEP 1 – DOWNLOAD PRODUCT and PRINT
First, if you want to make this exact journal, download the printables files to your computer or alternatively you can follow these instructions and just use other materials you have on hand.
I have these vintage printables free downloads in multiple PDF files, so download all of them or just designs you want below…
Download Vintage Printables Freebies Below
- TG_VintageJournal_HybridPrintable_BlankPage.pdf
- TG_VintageJournal_HybridPrintable_BlankTags.pdf
- TG_VintageJournal_HybridPrintable_Cover.pdf
- TG_VintageJournal_HybridPrintable_Pages.pdf
- TG_VintageJournal_HybridPrintable_PocketTags.pdf
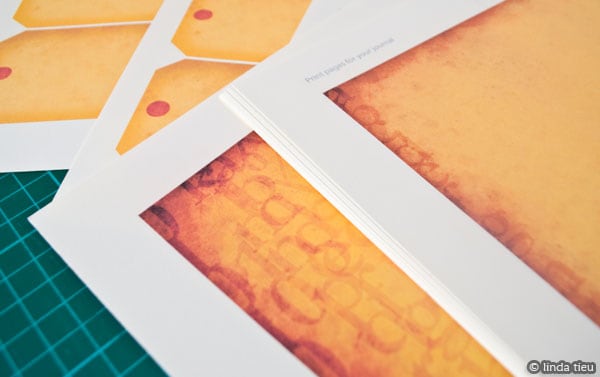
The PDFs make it easy to just print everything at once or you can choose to print only certain pages. When printed actual size, the final journal will be approximately 6x4inches.
Vintage Printables Tips
- consider what paper you would like to use, the thicker the paper the more sturdy your journal will be
- the thicker the paper, the fatter your journal will be
- since you are only printing on one side of the page, you might want to consider printing on colored paper or back side of patterned paper, if you don’t want blank backsides. however they are nice for journaling and decorating too!
- consider adding patterned paper, kraft paper or colored cardstock along with printed pages to expand your journal
- remember when printing to check your printer settings, use the highest quality possible
- make sure no parts of the imagery are cut off in printing
- I recommend using heavy cardstock for your cover image at least, it will protect your journal pages
STEP 2 – CUT and INK
Use your preferred cutting tool to cut out all the printed designs. Note that you don’t have to be super exact, because you can also ink the edges of your pages after trimming to hide any imperfections and finish off your printables, giving it an inked edge look.
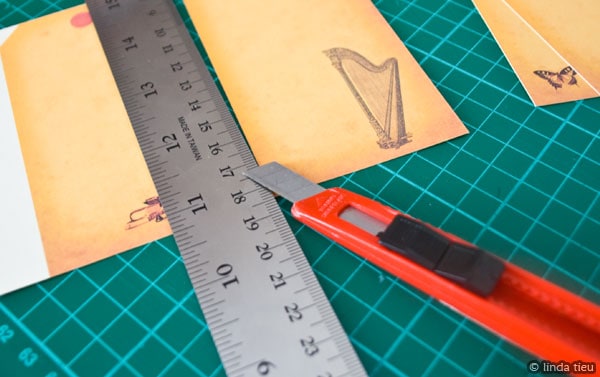
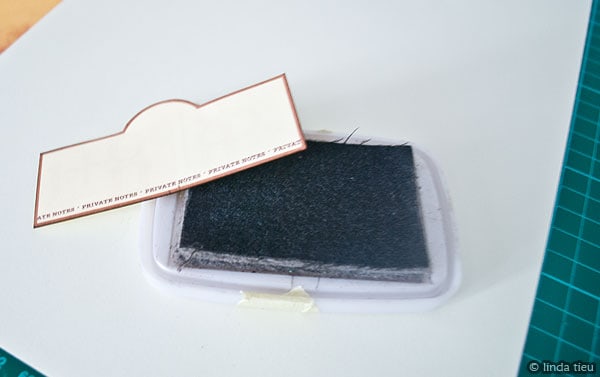
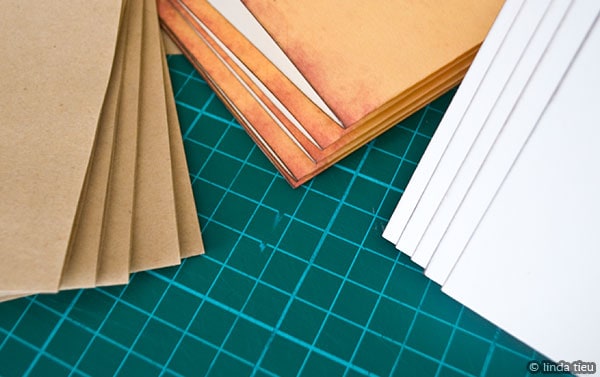
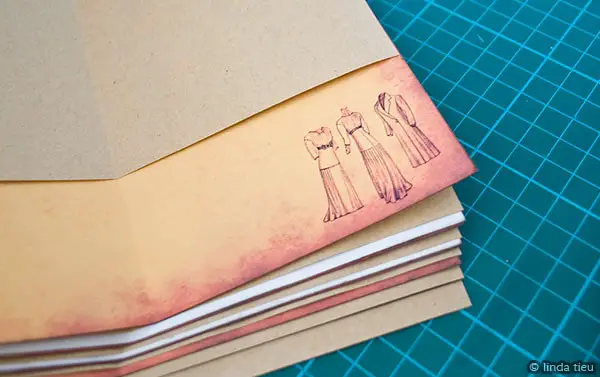
For my journal, I also cut some kraft papers to add more blank pages. I also folded my printed pages in different directions, since I only printed designs on one side and the back is blank. To vary how they would appear in my journal, I folded some pages to show design on the front and others on the back and mixed up all the pages to create variety.
More Vintage Printables Tips
- ink the edges of your pages for a finishing effect
- consider how many pages you would like in your journal, print more copies if you would like
- consider adding plain pages, lined pages, kraft paper, cardstock, etc if you would like to expand your book
- consider cutting pages in different sizes for variety
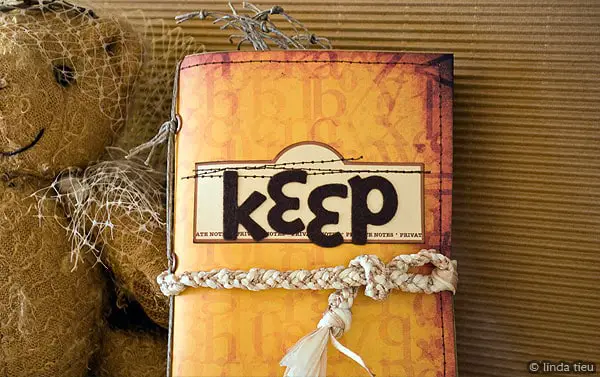
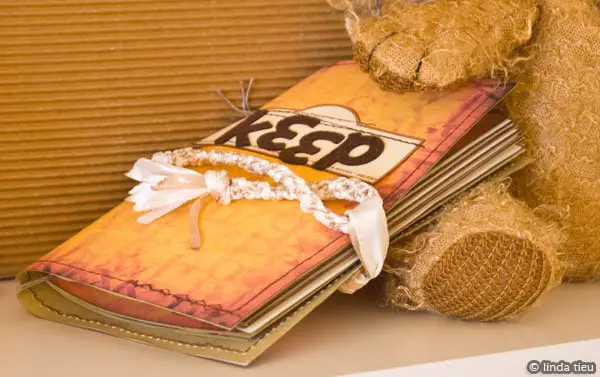
For your the cover design, I sewed the printed piece onto another piece of kraft paper to make the cover thicker and sturdier. Then I sewed the label for decoration and embellished with alphabet stickers. You can embellish your cover in a number of ways, but creating some kind of border or reinforcement all the way around helps to keep the journal cover sturdy. Not that the size of the cover page is a bit larger than the page size to help protect the pages within.
If you don’t have a sewing machine, you can easily glue pieces of paper together to get a thicker cover and glue embellishments on the cover to decorate.
STEP 3 – PUNCH and BIND
There are a number of ways you can put your journal pages together. I chose to punch 3 holes (because I had varying paper sizes) and stitched together all the pages folded in half. However, you can also glue your pages back to back – which might be better if you don’t want to see the back sides of your pages if you only printed on one side. There are many book binding methods out there, so take a look on this blog for other ideas as well. But any basic long stitch or pamphlet stitch will do!
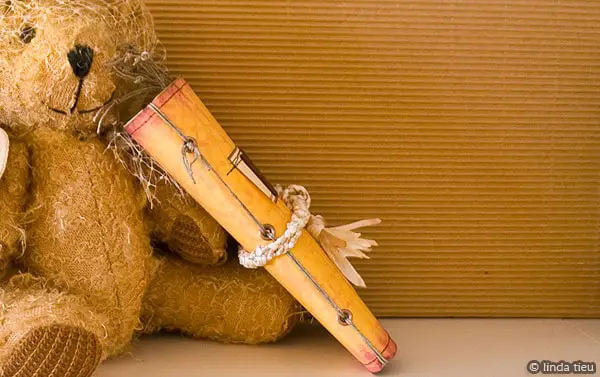
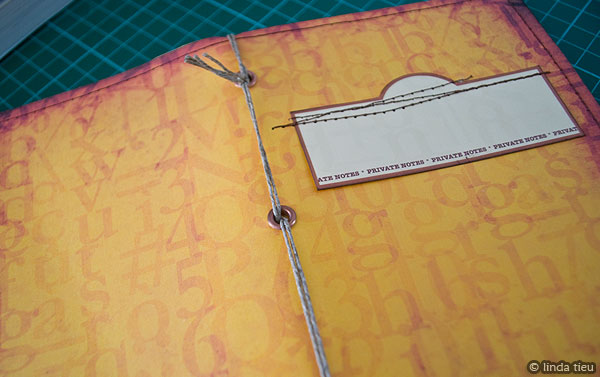
For the cover, I decided to add some eyelets to holes to reinforce the paper. You can also smear some glue on your punched holes and let it dry to reinforce them without eyelets. You can even use nail polish – just something to stop the punched edges of the holes from tearing with use.
Using linen string, I stitched the entire book together, nothing fancy, just stringing through, in and out, long stitching and tied a knot at the end. Super simple.
Final Vintage Printables Binding Tips
- You can use a hole punch to punch holes, or simply a needle for something smaller. Depending on the thickness of your paper, you might want smaller holes.
- Consider using other materials such as ribbon to bind your book together. If your pages are all the same size, you can just do two holes as well.
- Note that I have not folded or scored my cover paper…I want to keep it sort of softly rounded in the spine area
STEP 4 – EMBELLISH
Finally, after making your journal, you can embellish and use it!
For the cover, I used alphabet stickers to create a title. You can also write directly on the label or print out something you have typed on the computer to add on.
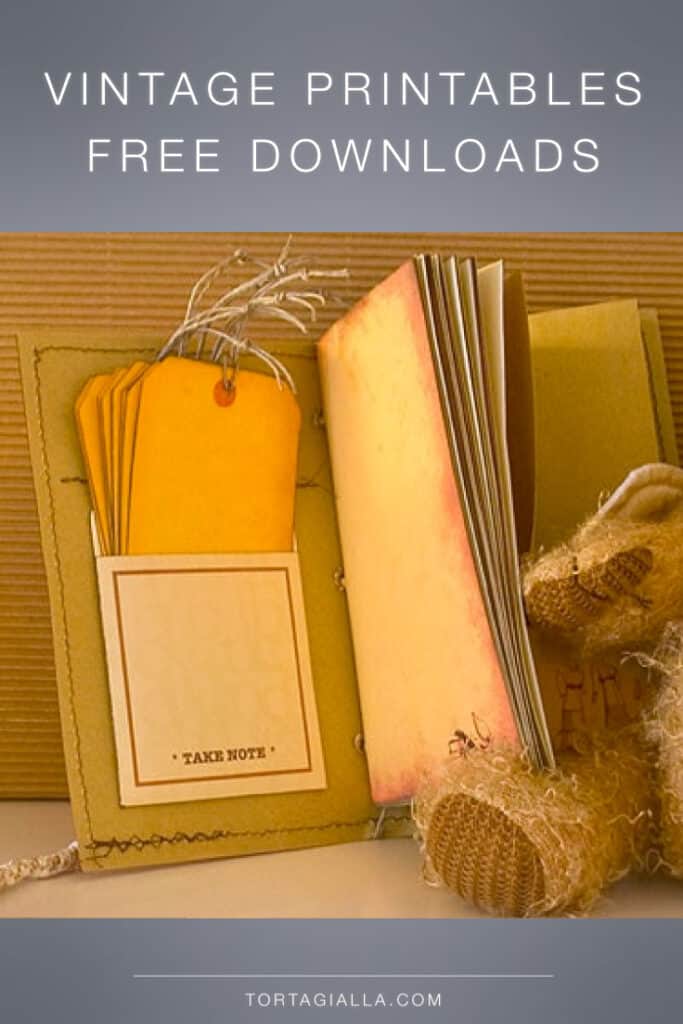
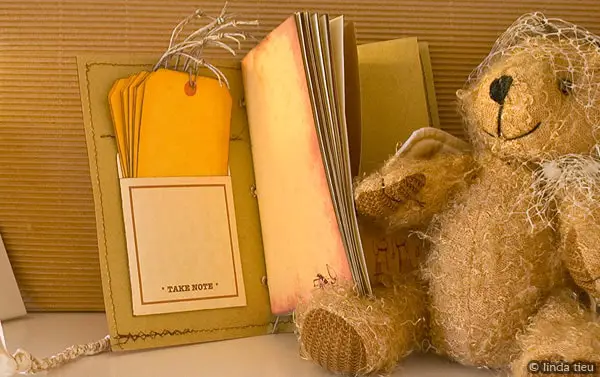
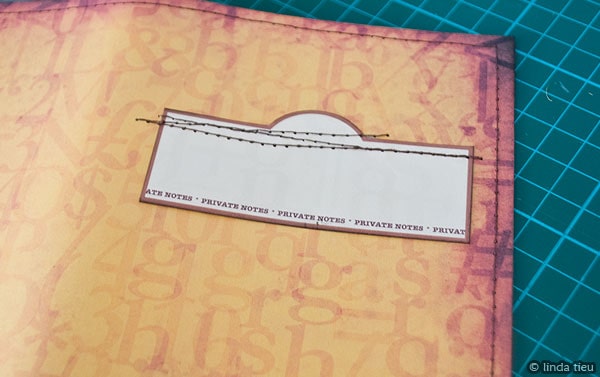
For the pocket on the inside cover, it’s best to fold the larger flap behind and up first, then glue the little flaps on either side. This gives you a smooth inside pocket to slip things into. Then glue the whole pocket into your journal. I put it on the inside of the front cover, but you can also add it to the first page of your journal or the back cover instead. You can also print more copies and create more pockets within the journal for more space!
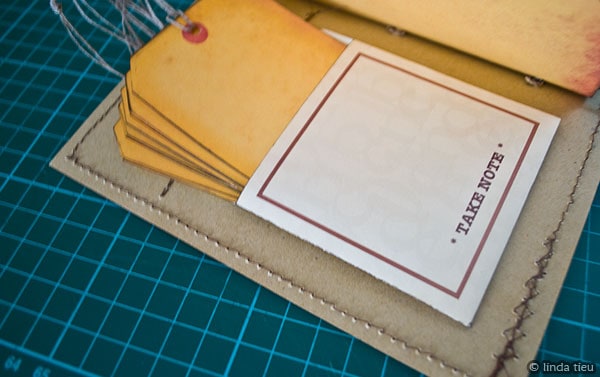
For the tags, I punched holes at the top and added some linen string. Pretty simple, but cute. I’m keeping them int the pocket, before adding them throughout my journal. The pocket is nice for keeping ephemera or to store some materials that you will use in the journal.
Vintage Printables Tips for Embellishments
- Consider how you would like to embellish your journal cover.
- Consider what you would like to include in your pocket or print more than one to include throughout the pages of the journal.
- You can ink up or pre-embellish your tags as well
- Many like to embellishment the binding or spine of their journals with fiber, charms, etc
- Use ribbon or other material to create a closure for your journal (I used braided ribbon for mine)
Want more printable designs?
Check out all the freebies on this blog and don’t miss out on new posts by signing-up for my email newsletter >>
Find me on Instagram as @tortagialla and my Facebook art page here if you want to follow along.
Thank you for your support! And you can also help by spreading the word and sharing this post with anyone who would appreciate these designs.
